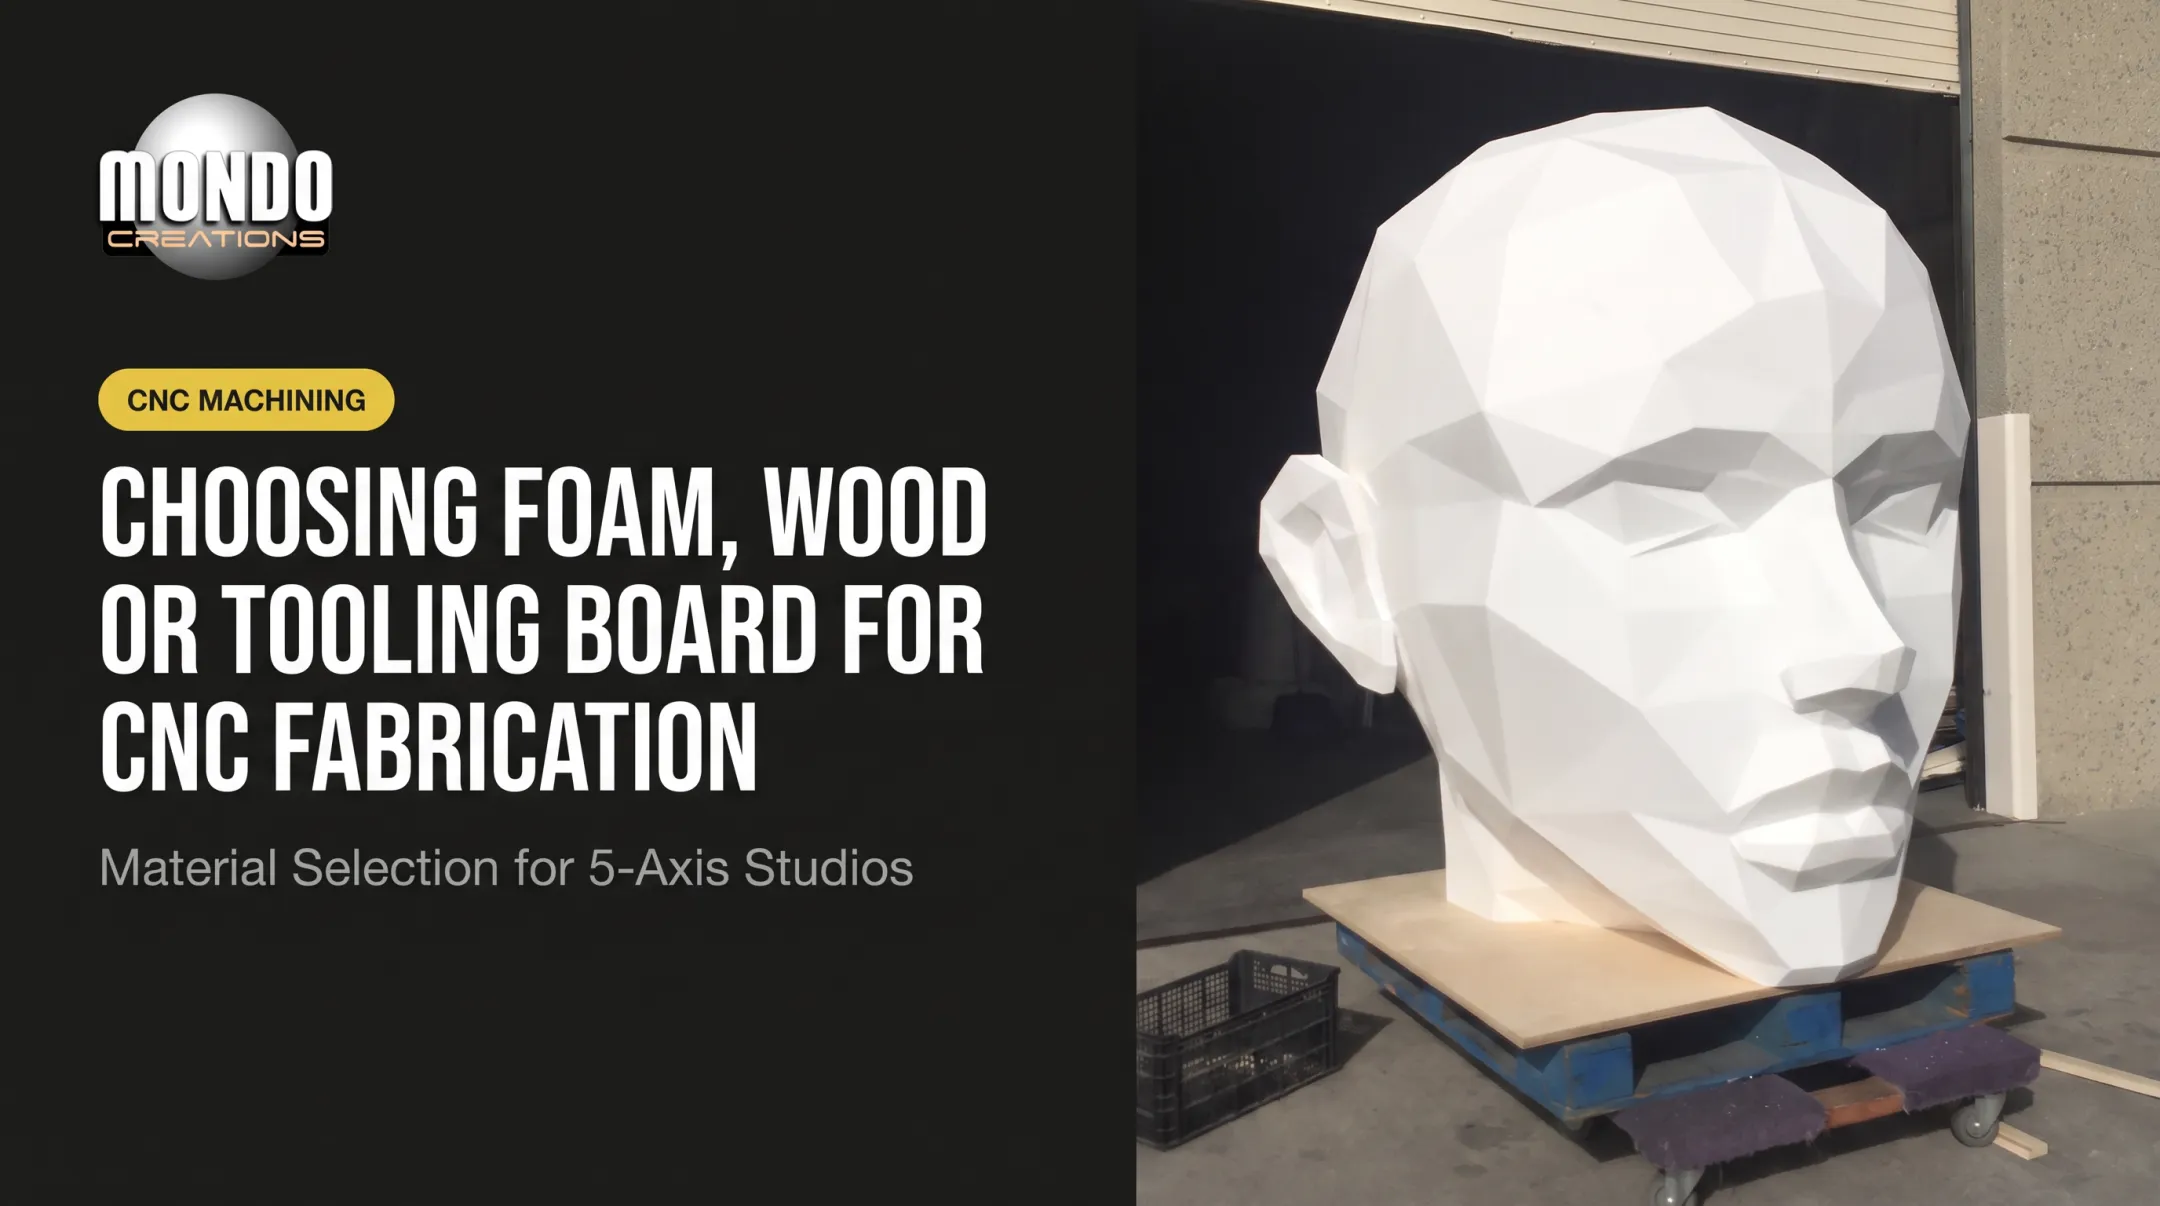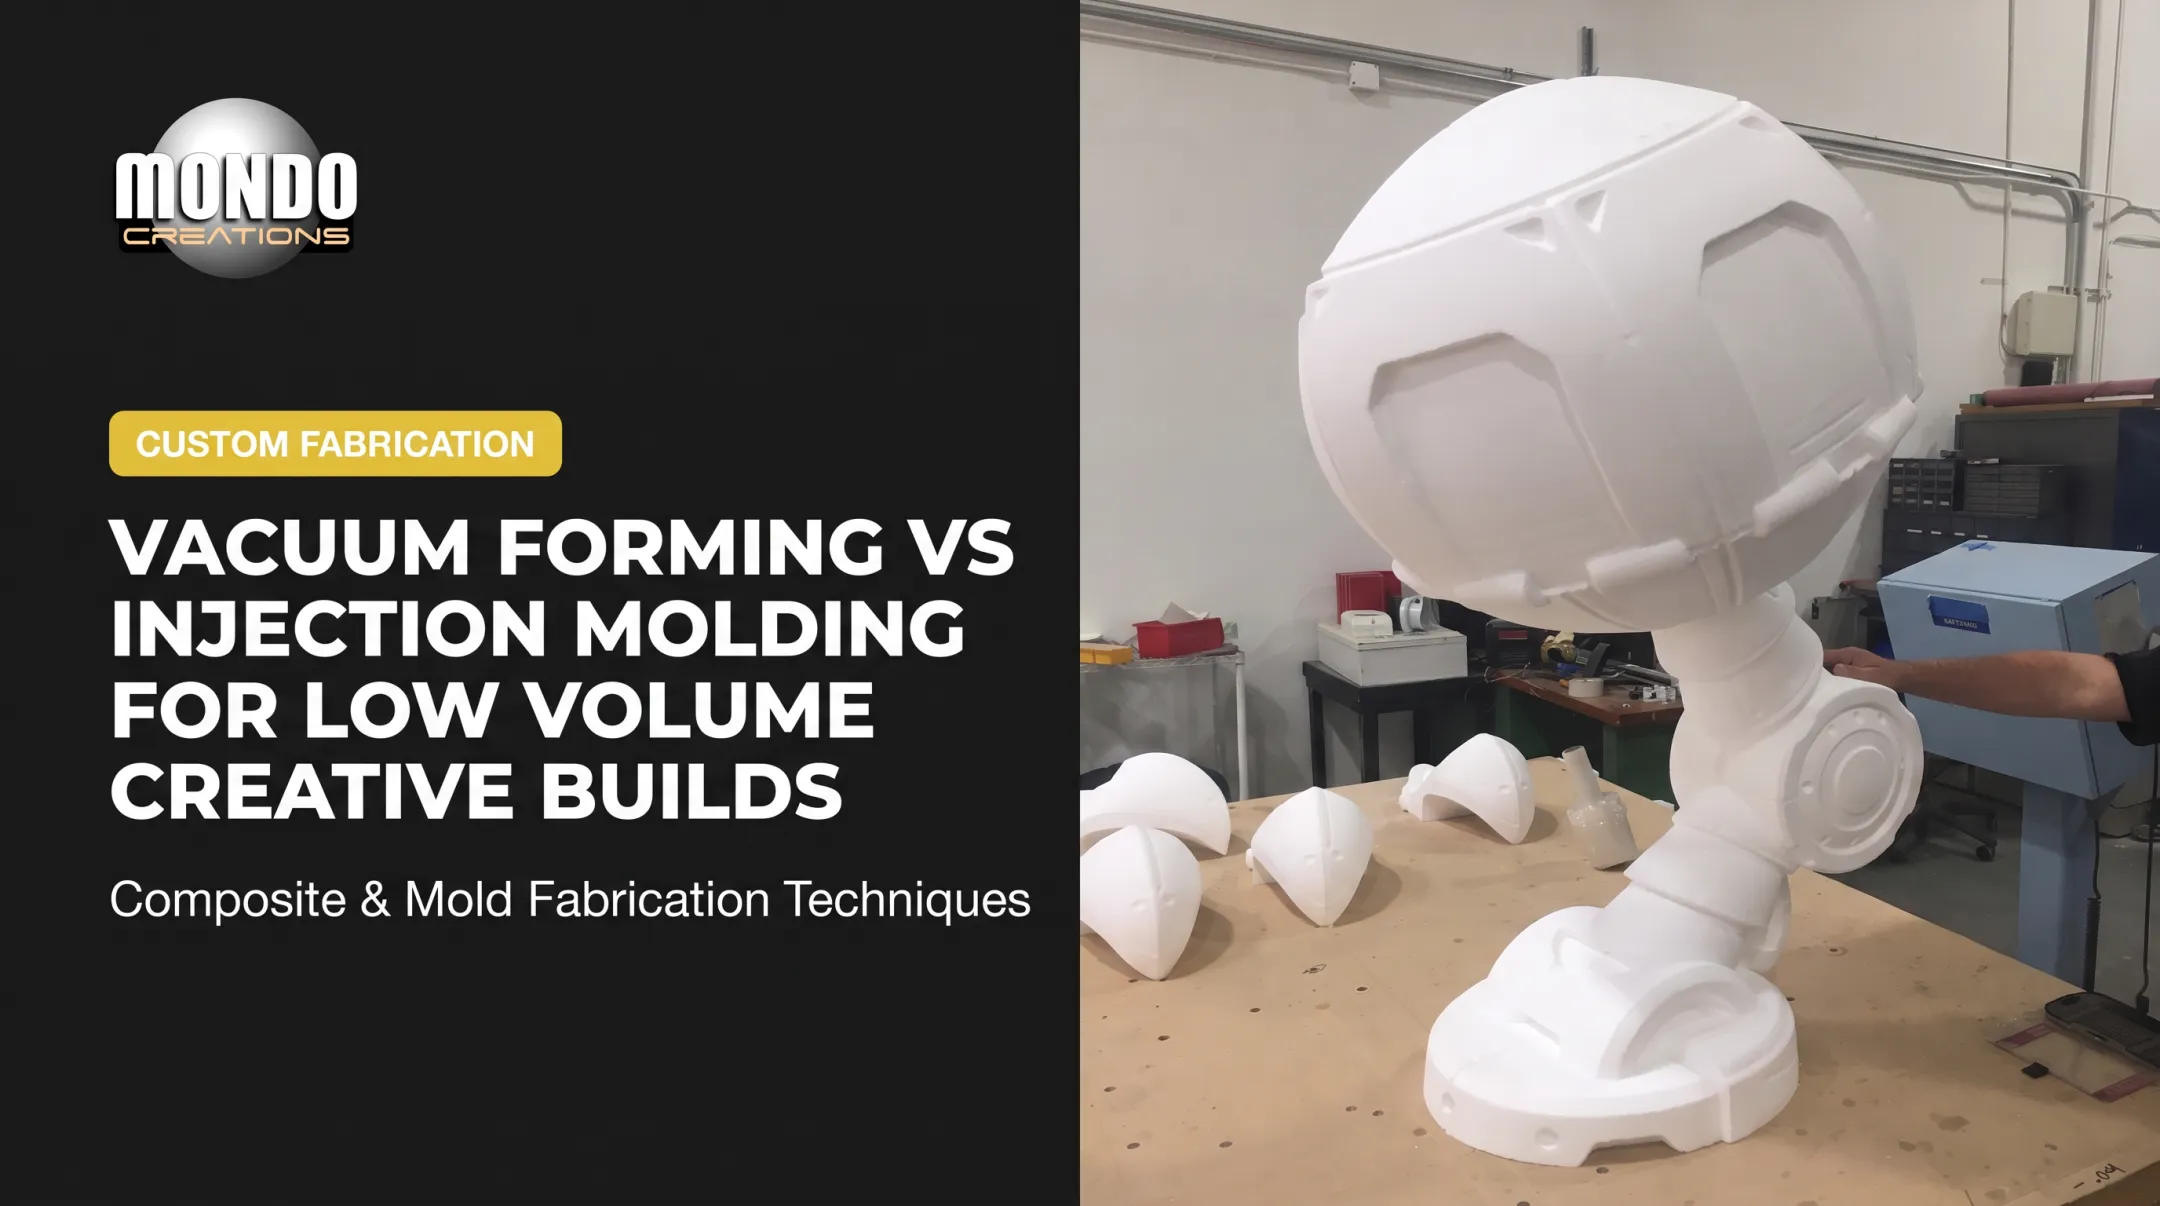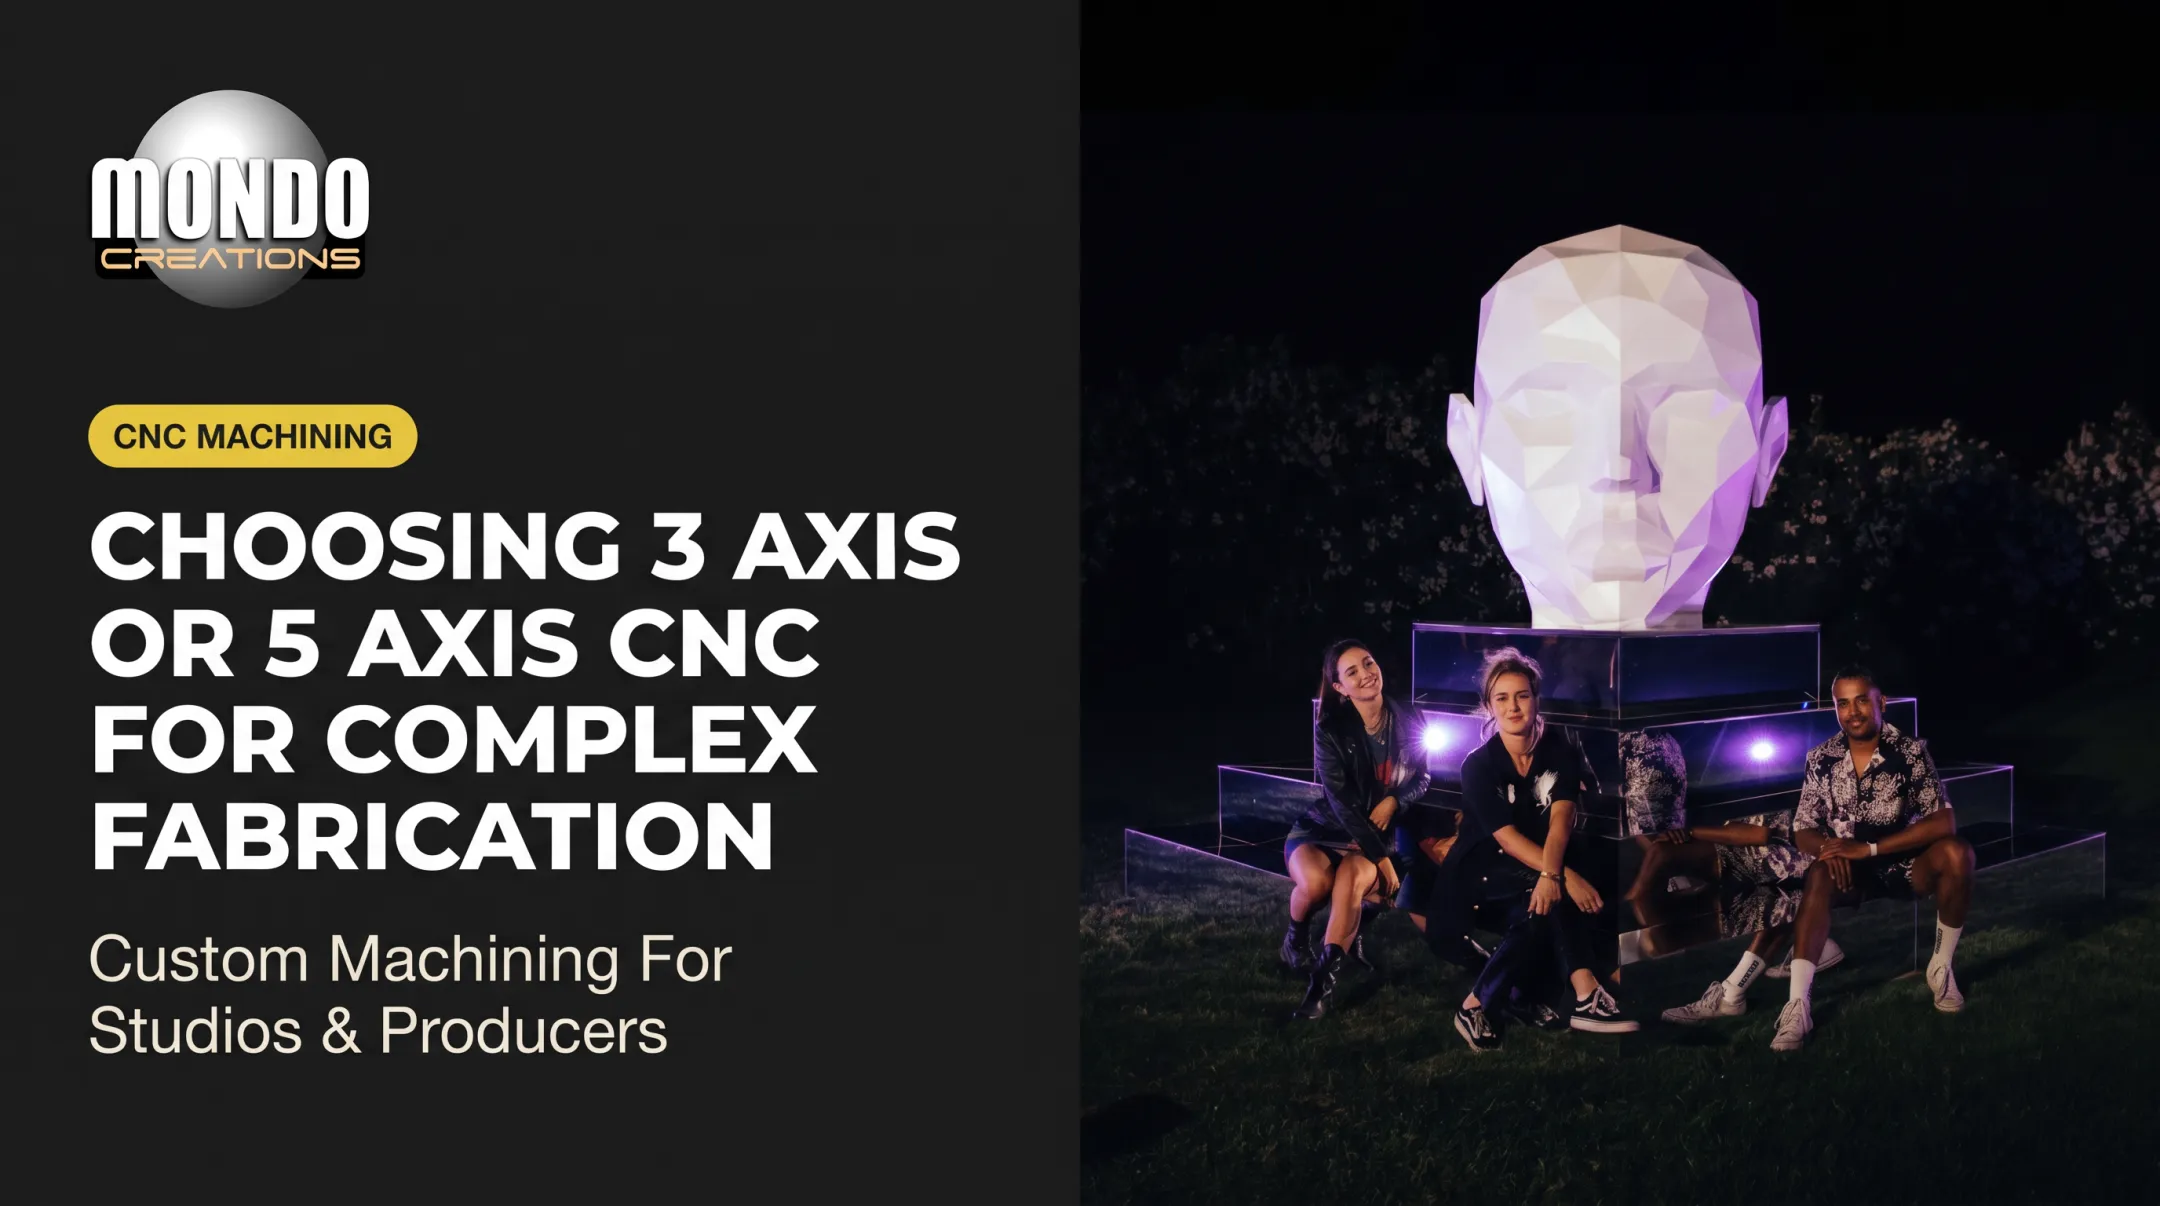

A physical model answers questions a rendering can't. Does the silhouette read correctly from 30 feet away? Does the scale feel right next to a human figure? Will the joints actually hold? Does the finish direction catch light the way the concept art promised?
This guide covers how to pick the right wood, match fabrication methods to your project goals, move from mockup to final production, and budget realistically for the whole process.
Key Takeaways
- Wood tests form, scale, and construction logic without committing to expensive final materials
- The right process depends on whether the model is for visual review, function testing, client approval, or direct production use
- Document every mockup with dimensions, photos, and revision notes before fabrication begins
- Pricing follows scope and labor, not board-feet of lumber
Why Wood Prototypes Matter in Creative Fabrication
"Prototype," "mockup," and "maquette" get used interchangeably, but they're not the same thing.
The National Park Service's exhibit fabrication specifications draw a useful line. A mock-up is a simply and quickly built working model used to test a concept. A prototype is more refined and approximates the final material, fabrication method, and operation more closely.
One is disposable. The other is closer to a dress rehearsal. (NPS Exhibit Planning, Design, and Fabrication Specifications, 2019)
A maquette sits somewhere near the mockup end: a small, often rough model artists use to pitch a larger public artwork. A production model isn't really a separate category at all: it's closer to the finished drawings and specs needed to actually build the thing.
What a Physical Model Reveals That a Rendering Can't
Renderings lie, sometimes without meaning to. A 3D file can make proportions look balanced when they'd actually feel top-heavy in a room. Wood mockups expose:
- Massing and balance: does the piece feel grounded or does it look like it's about to tip?
- Negative space: gaps that read as intentional on screen but awkward in person
- Viewing angles: how the piece reads from the front, from 15 feet to the side, from below
- Spatial occupation: how it actually sits in a room, on a stage, or on a set
Testing a Piece, Not the Whole Piece
You don't always need a full build to learn something. Testing one character head, one architectural corner, a single joint, a door mechanism, or one repeated decorative panel is often faster and cheaper, and it answers the specific question you actually have.
A rough wood mockup also gives everyone (artists, producers, brand teams, fabricators, installers) one physical object to point at and agree on. That shared reference catches proportion errors, awkward joints, or access problems while they're still cheap to fix.
Choosing Wood and Fabrication Methods for the Model
Not all wood behaves the same way once a router or a finish coat touches it. Choosing the right material depends on what the mockup needs to prove.
Matching Material to Purpose
| Material | Best for | Watch out for |
|---|---|---|
| Softwood | Fast, inexpensive exploratory builds | Lower density can complicate finishing |
| Hardwood | Final-appearance pieces where grain or strength matters | Higher density and shrinkage affect machining and finish |
| Plywood | Structural panels, repeatable flat components | Veneer lathe checks can telegraph through paint over time |
| MDF | Smooth, paint-ready sculptural forms | Not all MDF is laser-rated; check sheet specs first |
The USDA Forest Products Laboratory's Wood Handbook notes that engineered panels like plywood and MDF can sidestep natural defects such as knots and cracks that cause finishes to fail, which is one reason studios lean on them for presentation-grade mockups.
Moisture content matters more than most people expect. Wood movement can cause checking, splitting, warping, and cupping. Cross-grain lumber warps more as humidity shifts, a real concern for thin or large-format components that need to hold their shape through a build and a shoot.
Picking the Right Process
- Hand fabrication: fastest for rough, exploratory forms you'll revise quickly
- CNC routing: repeatable contours and large components with consistent accuracy; ShopBot documents cutting wood, MDF, and foam for theater sets, props, and exhibit builds
- Laser cutting: thin sheet parts, patterns, and fine detail work
- Turning or milling: rotational forms and detailed small components
Before committing to a process, run through a quick checklist:
- Intended scale and level of detail required
- Number of revisions expected and tolerances
- Finish quality and how the piece will be handled or transported
- Whether it needs to double as a pattern or production reference later
The Wood Prototyping Workflow: From Concept to Production
A reliable workflow looks roughly like this:
- Creative brief: define the goal and the questions the model must answer
- Sketches or 3D files: translate concept into buildable geometry
- Scale and fidelity decision: rough mockup or near-final prototype?
- Material selection: match wood type to purpose
- Fabrication plan and first build
- Review, revisions, documentation, approval
At Mondo Creations, this typically starts with CAD work that turns a concept, sketch, or reference image into accurate, buildable geometry. 3D modeling and 2D drafting then lock in dimensions, component relationships, and assembly details before any wood gets cut.

What to Establish Before Fabrication Starts
Before a single cut, settle:
- Overall dimensions and viewing distance
- Mounting or support requirements
- Deadline and venue constraints
- Repeated elements that need to match
- Surface finish expectations
- Whether the model needs to survive repeated handling
Review Checkpoints
Don't try to approve everything at once. Stage your reviews:
- Silhouette and overall form first
- Construction and assembly logic next
- Surface, branding, and finish details
- Mechanisms and installation specifics last
A staged shop process often includes preliminary inspections around 40% completion, reviewing primary structure before final finishes go on.
Photographs, measurements, marked-up drawings, and revision notes turn a mockup from a one-off object into a dependable production reference. This is where a studio with end-to-end capability earns its keep. Mondo Creations' service catalog spans CAD, 3D modeling, 3D CNC machining of wood and tooling board, and woodwork/metalwork for armatures, bases, frames, and supports. Approved decisions from an early model can carry straight into final production without getting lost in translation between separate vendors.
Creative Applications for Wood Mockups and Prototypes
Wood mockups show up across a wide range of creative work:
- Character sculpture and collectible or gallery pieces
- Branded environments and themed restaurants
- Television and film sets
- Public art and event installations
- Product displays
Testing Scale and Audience Impact
For large-scale creative work, a mockup can test:
- Sightlines from different vantage points
- Circulation and foot traffic patterns
- Access for installation and maintenance
- Signage and lighting relationships
- Overall visual hierarchy
A touring festival sculpture shows how logistics thinking belongs in the build from day one. A piece that sits on a wooden base and wheeled platform, fits inside a standard van, and loads using wooden ramps needs those choices locked in long before it reaches the venue.
That same planning runs through Mondo Creations' work in custom sculpture, character design, themed installations, and entertainment fabrication, where physical logistics matter as much as form.
Moving From a Wood Model to the Final Material
A wood mockup won't always behave like the finished piece, and that's fine, as long as you know which decisions actually transfer.
What Carries Over, What Doesn't
Transfers reliably from a wood model:
- Silhouette and overall dimensions
- Component relationships
- Visual placement and composition
Needs engineering or fabrication review:
- Weight distribution in foam, resin, or bronze
- Flexibility and thickness in the final material
- Surface texture and finishing approach
Foam, resin, fiberglass, bronze, plaster, and metal composites all carry different weight, flexibility, and finishing characteristics than wood. A form that looks balanced in plywood might need a completely different internal support structure once it's hollow-cast fiberglass or solid bronze.
Planning the Transition
Before final build starts, work through:
- Armatures and internal supports
- Seams and mounting hardware
- Access panels for maintenance
- Transport sections (does it need to break down to move?)
- Installation tolerances
A visually successful mockup is not automatically a structural or safety approval. Load capacity, anchoring, fire performance, and public-interaction requirements need review from qualified professionals, not just a design team's sign-off.
This isn't a minor caveat. The 2024 International Building Code sets minimum structural-design requirements for components resisting applicable loads, and the International Fire Code addresses interior finish and decorative materials separately. Neither gets satisfied just because a wood mockup looked good in a photo.
Depending on your production route, the wood prototype can serve as a pattern, reference, mold master, CNC input file, sculptural underform, or simply the artifact that got client sign-off. Mondo Creations' resin casting and fiberglass layup capabilities support projects that need to move from a lightweight model into a structure that can handle transport and outdoor placement.

How to Price a Wood Project
Price a wood project from scope and labor, not from how much lumber it uses. A small, highly detailed piece can cost more than a large, simple one.
What a Realistic Estimate Includes
- Research and design
- Drawings or 3D modeling
- Material sourcing and preparation
- Fabrication and machining
- Assembly, sanding, finishing
- Revisions and project management
- Packaging, shipping, installation
What Drives Cost Up
- Unusual scale or tight tolerances
- Intricate geometry or complex joints
- Multiple rounds of revisions
- Premium wood species
- Custom tooling requirements
- Short deadlines or difficult site access
- High-fidelity finish work
What to Send a Fabricator Before Requesting a Quote
Mondo Creations asks for a clear description, intended purpose, and either a 3D model (.stp, .step, .fbx, .dwg, .dxf, .igs, .iges, .stl, .obj, or .3dm) or 2D drawings, sketches, and reference images with approximate sizing.
Add your completion date and delivery city, and you'll get a quote built around your actual scope, not a guess.
One practical note: ask your fabricator to separate prototype-only costs from reusable design work, tooling, or patterns. If the mockup's CAD file or mold master carries into production, that's value you shouldn't pay for twice. Get clear on revision allowances and shipping costs up front, too. These are the line items that blow past initial estimates most often.

Frequently Asked Questions
How do I price a wood project?
Price depends on design time, wood or sheet goods, fabrication method, labor, finishing, revisions, schedule, packaging, shipping, and installation. Request a scope-based quote rather than estimating by material cost alone.
What's the difference between a wood prototype and a wood mockup?
A mockup typically focuses on appearance, scale, or presentation. A prototype tests construction, function, fit, or production decisions and more closely resembles the final piece.
What type of wood is best for a prototype?
MDF or plywood suit stable, paint-ready forms. Softwoods work well for inexpensive exploratory builds. Hardwoods make sense when grain, strength, or final appearance matter.
Is CNC machining better than hand-building a wood mockup?
CNC offers repeatability and digital accuracy for complex or repeated forms. Hand fabrication is faster and more flexible for rough shapes, one-off adjustments, and early concept exploration.
Can a wood prototype become the final sculpture?
Sometimes, depending on durability, scale, environment, and structural needs. If the project calls for a different final material, the prototype serves as a reference rather than the finished piece.
What should I send a fabricator before requesting a quote?
Send dimensions, drawings or 3D files, reference images, quantity, material and finish preferences, intended use, deadline, and delivery requirements — plus the specific questions the prototype needs to answer.