
The decision matters for reasons beyond the unit price tag. Tooling investment, how easily the design can change mid-project, part scale, weight, surface finish, structural strength, and installation timelines all hinge on which forming process you pick. Get it wrong, and you're either overpaying for precision you don't need or under-building a piece that can't survive transport.
This guide breaks down vacuum forming and injection molding specifically for low-volume creative work: props, exhibits, scenic pieces, and branded installations. The short version: vacuum forming tends to suit large, lightweight, hollow forms, while injection molding fits smaller, detailed, repeatable components. But the real answer depends on your specific build, not a volume cutoff alone.
Key Takeaways
- Vacuum forming heats a thermoplastic sheet and draws it over a mold, ideal for large, hollow, lightweight shells and skins.
- Injection molding forces molten material into a precision tool, delivering intricate detail, repeatability, and integrated features.
- Compare tooling cost, revision likelihood, part size, wall thickness, finish, strength, and quantity together, not any single factor alone.
- A hybrid build often works best: a formed exterior over a fabricated support structure, paired with separately produced detail components.
Vacuum Forming vs Injection Molding: Quick Comparison
| Factor | Vacuum Forming | Injection Molding |
|---|---|---|
| Tooling cost | Single-face mold, lower forming pressure, generally more accessible upfront | Machined cavity tool, higher upfront commitment |
| Best part size | Large, shallow, hollow forms | Small to moderate, solid or semi-solid parts |
| Detail capability | Limited by one-directional sheet stretch | Captures ribs, bosses, threads, undercuts |
| Revision flexibility | Comparatively easy to modify or remake | Costlier once tooling is cut |
| Best for quantity | Low volume, changeable designs | Higher volume, stable designs |
Cost
Vacuum forming uses a single-sided mold and low forming pressure, which keeps initial tooling investment manageable for a small run. That said, trimming, mold revisions, and material waste still add to the total project cost . The mold price is never the whole story.
Injection molding tooling typically demands a bigger upfront commitment because the cavity has to be precision-machined. According to Fictiv's comparison of the two processes, injection tooling costs more than vacuum-forming tooling but delivers finer part detail. Once that tool is approved, though, repeated production makes per-part economics far more attractive as quantity climbs.
Scale and Part Format
Vacuum forming excels at:
- Large, shallow shells and panels
- Hollow covers and housings
- Lightweight display and signage faces
- Props that need to look substantial without weighing a ton
Injection molding excels at:
- Small to moderate solid or semi-solid components
- Parts needing integrated mechanical features
- Detailed geometry that must repeat exactly across units
Design Complexity and Detail
Vacuum forming stretches a sheet in one direction only, which creates uneven wall thickness in deep draws. Formech's own classroom guide notes that overstretching thins and weakens the heated sheet; lower tool height, thicker starting material, and increased draft angles help offset this. Sharp corners without draft, and undercuts, can trap the formed sheet entirely.
Injection molding handles ribs, bosses, clips, threads, and textures with appropriate tooling design. Protolabs documents side-action mechanisms specifically for handling undercuts, something vacuum forming generally can't do without redesigning the part.

Revision Flexibility and Lead Time
Simpler vacuum-forming tools and accessible pattern materials support rapid creative iteration , but you still need to validate the actual tool material and finishing workflow before committing. Injection mold changes carry more weight once the tool exists. Protolabs notes that an existing mold can sometimes be modified, but certain parting-line changes usually require a brand-new mold.
Appearance, Strength, and Finishing
Neither process delivers a "finished" piece straight off the tool. Vacuum-formed parts need trimming, seam treatment, and paint prep. Molded parts may need gate-mark cleanup and assembly. For public-facing installations, budget time and labor for both the forming cycle and the finishing pass that follows it.
What is Vacuum Forming?
Vacuum forming is a thermoforming process. A heated thermoplastic sheet gets pulled against a mold using vacuum pressure, then cooled, released, and trimmed. It's distinct from liquid resin casting: there's no mixing or curing chemistry involved, just heat, suction, and a mold surface.
For creative builds, this matters because vacuum-formed pieces are hollow by nature. That makes them lighter and easier to transport, hang, or mount than an equivalent solid part, a real advantage when you're shipping a 12-foot character shell to a convention floor.
Key Variables to Nail Down
When planning a vacuum-formed piece, work through:
- Sheet material and gauge (thickness)
- Mold geometry, draft angles, and draw depth
- Corner radii and surface texture
- Anticipated sheet thinning in deep sections
- Trim allowance around the part edge
- How the formed shell attaches to a frame or neighboring component
Tooling options for low-volume projects can include patterns, composite or epoxy tools, wood-based tools, or more durable metal tooling. The right choice depends on run size, detail level, and how many times the mold will be reused. Always confirm suitability with your fabricator rather than assuming one material works for every job.
Finishing and Use Cases
A vacuum-formed piece rarely leaves the shop floor as-is. The path typically runs through trimming, sanding, joining, filling, priming, painting, and installation hardware before it's venue-ready.

In practice, vacuum forming shows up across:
- Rapid scale models for client approval
- Oversized character or architectural shells
- Lightweight scenic components and signage faces
- Exhibit housings and themed-restaurant elements
- Display covers and repeatable panels
It's especially useful when the visible form is large but doesn't need to be solid, when the design might still change, or when transport and installation logistics matter as much as the final look.
A documented example: when English National Opera needed a set of visually matching Swiss Guard headdresses for a production of Benvenuto Cellini, the costume team adopted vacuum forming specifically for the uniformity it offered. Head milliner Megan Bearup reported the finished headdresses looked exactly alike, the repeatability the process is known for, delivered in a real production setting.
What is Injection Molding?
Injection molding heats plastic pellets or resin, forces the molten material into a machined tool under pressure, cools it, and ejects the finished part. Where vacuum forming shapes a sheet against one surface, injection molding fills a fully enclosed cavity, so it can capture detail a sheet simply can't replicate.
Why It Matters for Creative Builds
This process fits creative work that needs:
- Highly repeatable character details or small props
- Closures, connectors, or articulated components
- Hardware, emblems, or production-quality parts repeated across a collection
Tooling and Design Requirements
Mold feasibility depends on cavity design, gates, runners, ejection mechanics, draft angles, wall thickness, cooling channels, and parting lines. Undercuts or moving features need side-actions or lifters built into the tool. These add cost but open up far more geometric freedom than vacuum forming allows.

Material flexibility is a real advantage too. Injection molding supports a wide range of thermoplastics, reinforced grades, colored compounds, and flexible materials suited to different environments. Always verify material compatibility with the intended finish and exposure conditions before locking in a resin choice.
The trade-off: once a mold is approved, it produces consistent parts run after run. But late changes to geometry, texture, or detailing can mean modifying the existing tool, or cutting a new one entirely.
Where Injection Molding Fits
- Collectible components and repeated character accessories
- Small branded merchandise
- Detailed prop hardware
- Snap-fit assemblies and parts that must mate consistently
It's especially valuable when the design is stable, detail and repeatability matter, or the same component needs to appear across multiple builds or releases.
Protolabs' work with drinkware brand Tervis illustrates the approach well. The company used rapid injection molding to prototype and iterate wine-glass covers, running two design iterations before committing. The first production run sold out almost immediately, demonstrating that injection molding can support both fast iteration and genuine market testing even outside massive production runs.
Vacuum Forming vs Injection Molding: What Is Better?
There's no universal winner. The right call depends on how these factors stack up for your specific build, roughly in this order of importance:
- Part size: large forms favor vacuum forming; small ones favor molding
- Hollow vs. solid construction: hollow shells point to vacuum forming
- Visible detail requirements: fine detail points to injection molding
- Dimensional tolerance: tighter tolerances favor molding
- Structural strength needs: may require reinforcement either way
- Expected quantity: higher repeat counts favor molding economics
- Design maturity: unsettled designs favor vacuum forming's flexibility
- Tooling budget: vacuum tooling generally costs less upfront
- Schedule: vacuum forming often iterates faster early on
- Finishing requirements: both need a finishing pass; plan for it
Choose vacuum forming when the build prioritizes large scale, low weight, hollow construction, fast iteration, and straightforward exterior geometry at limited quantity. Budget additional time for framing, joining, trimming, reinforcement, and paint prep: a formed shell is rarely structural on its own.
Choose injection molding when the build prioritizes small detailed components, consistent dimensions, integrated mechanical features, and durable repeatability on a design that's already settled enough to justify precision tooling.
When Neither Process Stands Alone
Many of the best creative builds combine techniques rather than picking one exclusively:
- CNC-milled foam for master patterns and structural cores
- Sculpted and coated forms for one-off detail work
- 3D-printed masters for forming tools or small production runs
- Resin or urethane casting for repeatable detail parts
- Fabricated metal or wood frames supporting a formed skin
Quick Decision Checklist
Before requesting a quote, gather:
- CAD files or sketches of the design
- Largest overall dimensions
- Quantity needed and likelihood of future revisions
- Critical surfaces and attachment points
- Intended finish and environmental exposure
- A request to compare tooling, fabrication, assembly, and finishing costs (not just the mold price alone)
Real-World Examples
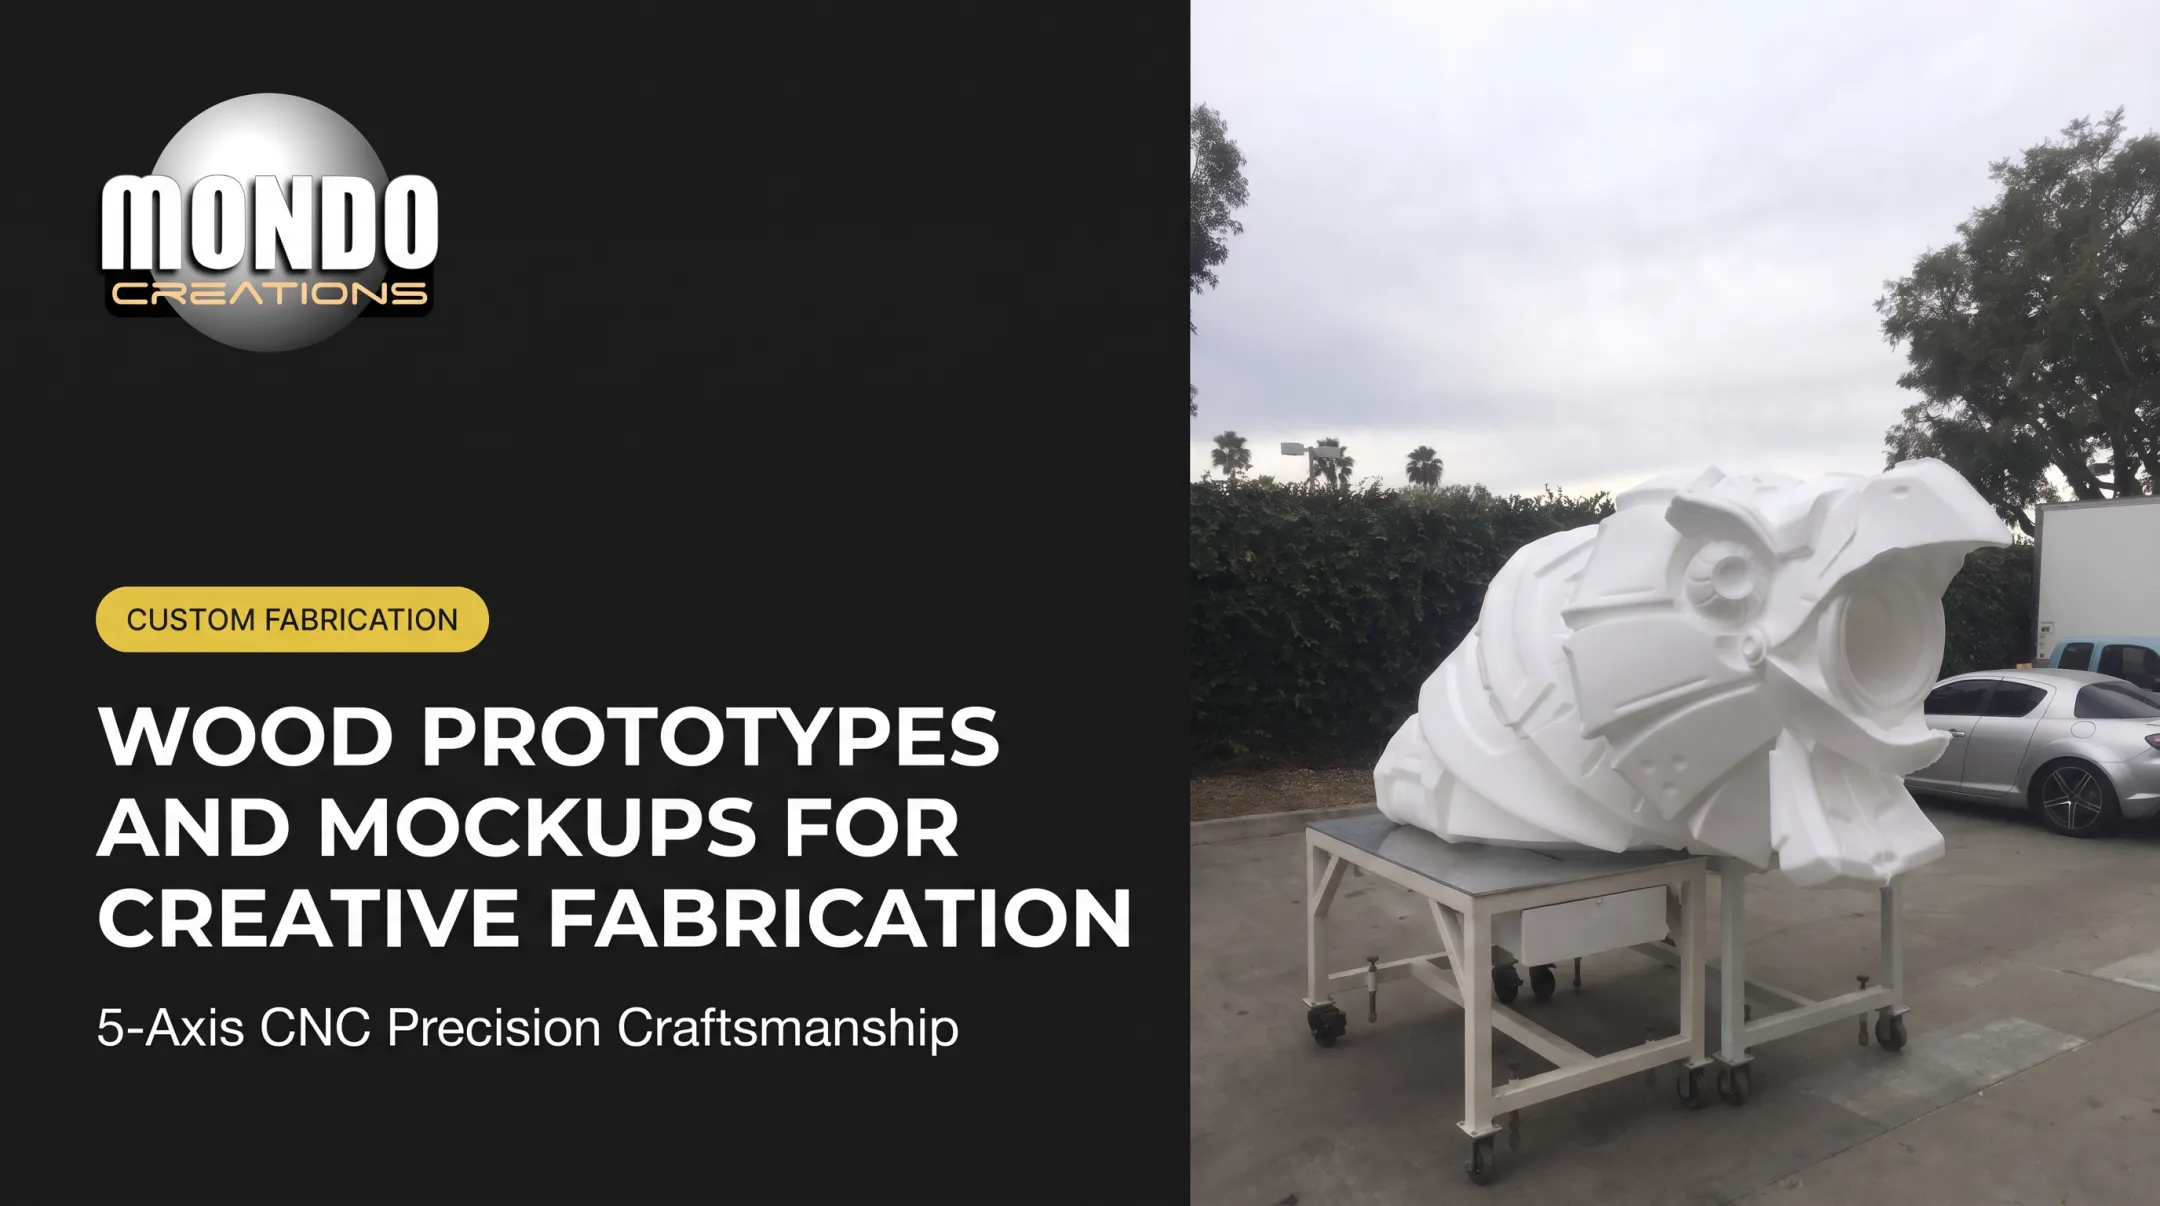
Consider a transport scenario: a geometric head sculpture unloaded from a van using a flat wooden ramp braced on two sawhorses. That detail drives a bigger point: a creative installation succeeds or fails on logistics as much as on forming technique.

None of these examples confirm vacuum forming or injection molding was the specific process used; that detail depends on client confirmation. What they do show is that scale, finish expectations, mobility needs, and assembly complexity all inform which production route makes sense, long before anyone picks a forming method.
The takeaway: evaluate a low-volume creative project as a complete installation, not as a single manufacturing decision. Factor in the full stack:
- Patternmaking and structure
- Skin and detail parts
- Paint, transport, and site assembly If you have a concept, a drawing, or a 3D model, Mondo Creations can walk through a custom, installation-ready build and put together a project quote.
Conclusion
Choose vacuum forming for large, lightweight, hollow, appearance-led forms where economical tooling and design iteration matter. Choose injection molding for stable, detailed, repeatable components where precision and integrated features outweigh the higher initial tooling cost.
The most effective creative builds often combine both approaches. Before settling on a method, map out the full workflow : concept, 3D model, fabrication, finishing, transport, and installation. The forming process is just one piece of getting a finished build into the venue.
Frequently Asked Questions
What are 10 common products made by vacuum forming?
Common examples include packaging trays, product housings, signage faces, display covers, vehicle dashboards, appliance liners, protective covers, props, exhibit components, and themed-environment shells. Not every example suits every project. Geometry and finish needs still apply.
Can you vacuum form over a 3D print?
A 3D-printed pattern can sometimes serve as the forming tool itself, but it must withstand the heat, vacuum pressure, and draft requirements of the draw depth. That's different from vacuum forming directly over a finished print, which isn't how the process works.
Is vacuum forming cheap?
Vacuum forming can reduce initial tooling expense for suitable low-volume parts, but total project cost also includes material, patternmaking, trimming, reinforcement, finishing, labor, and revisions. The mold price is only one line item.
What is better for a low-volume creative build: vacuum forming or injection molding?
Vacuum forming commonly suits large, lightweight, hollow forms, while injection molding suits smaller, detailed, repeatable parts. Evaluate your geometry and finish requirements first. Quantity alone doesn't decide it.
Can injection molding be used for low-volume production?
Yes. Low-volume injection molding can work with prototype or soft tooling, though the economics depend on part complexity, material choice, tool life, required finish, and whether future production is likely.
What information should I provide when requesting a quote for a custom creative build?
Share sketches or CAD files, dimensions, quantity, deadline, intended venue, structural and attachment requirements, material or finish preferences, environmental exposure, shipping needs, and whether the design is still evolving.