
Introduction
Resin casting starts with a simple idea: pour liquid resin into a prepared mold and let it cure into a solid copy of a master model or sculpted form. That's the whole concept. The execution, however, is where most people struggle.
Prop makers, model builders, collectors, and production teams often need several identical copies of an armor plate, character detail, or mechanical housing. Many assume resin casting is interchangeable with 3D printing or basic silicone molding. It isn't.
This guide breaks down material selection, mold preparation, the casting workflow itself, quality factors that separate clean parts from flawed ones, common failure points, and when the job calls for professional fabrication instead of a garage setup.
Key Takeaways
- Resin casting fills a mold with liquid resin that cures into a detailed solid replica
- Final part quality depends on the master, the mold, mixing accuracy, and cure control
- Epoxy, polyurethane, polyester, and castable resins each serve different production needs
- Not every project size, quantity, or structural requirement suits a mold-and-cast workflow
What Is Resin Casting for Detailed Models and Prop Components?
In practical terms, resin casting means mixing a two-part (or otherwise specified) liquid resin, pouring it into a mold cavity, and letting it cure into a solid replica of an original sculpt, 3D print, or fabricated master.
The goal is straightforward: preserve fine surface detail, produce multiple matching parts, and create components you can trim, sand, paint, and assemble into a larger build.
People frequently confuse three related but distinct processes:
- Resin casting: liquid resin fills a mold cavity shaped like the master
- Resin 3D printing: a printer cures resin layer by layer from a digital file, with no mold involved
- Resin coating: resin is applied over an existing surface for protection or finish, not to form a replica
Casting shines when you need repeatable, mold-captured detail. Printing shines when you need one-off geometry straight from CAD. Coating is a surface treatment, not a way to form a replica. Mixing these up leads to the wrong tool for the job, which is where a lot of frustrated first attempts come from.
Why Resin Casting Is Used for Models and Props
Casting earns its place in a prop shop or model studio for one main reason: repeatability. If a production needs twelve matching armor plates or a collector line needs fifty identical busts, sculpting each one by hand isn't realistic. One good mold solves that problem.
Resin also handles detail better than most direct fabrication methods. It flows into recesses, undercuts, and fine texture that a cured silicone mold has captured, then accepts sanding, drilling, priming, and paint once it's solid.
Where This Gets Used in Practice
Resin casting shows up across a wide range of project types:
- Character busts and collectible prototypes
- Costume and armor components
- Miniature figures and creature details
- Game and film props requiring matching duplicates
- Scenic details and branded display pieces
- Mechanical housings and mold patterns destined for a later material
It typically enters a project after a master has been sculpted or 3D printed, during prototype validation, or whenever replacement and duplicate parts are needed on a tight schedule.
Casting vs. Other Fabrication Methods
| Method | Best for | Limitation |
|---|---|---|
| Resin casting | Repeatable detail, moderate quantities | Mold cost, size constraints |
| Direct sculpting | One-off pieces | No repeatability |
| CNC/foam fabrication | Large scale, structural forms | Less fine surface detail |
| 3D printing | Complex one-offs, rapid iteration | Slower for multiple identical parts |
The right method depends on geometry, scale, quantity, tooling cost, structural load, and the finish the client actually needs. A single hero prop might not justify a mold at all. A themed restaurant rollout needing twenty identical emblems almost always does.
How Resin Casting Works
The end-to-end flow looks like this:
- Finish a master and build a silicone mold
- Prepare the mold with a release system
- Measure, mix, pour, and de-air the resin
- Cure the casting, demold, finish, and inspect
You'll need:
- A finished master pattern and compatible mold-making silicone
- The selected resin, plus release agent where required
- Accurate measuring tools, mixing vessels, and protective equipment
- A controlled workspace
The core transformation is chemical: separate resin components combine per the manufacturer's instructions and turn liquid into solid polymer.
Variables that shift your outcome:
- Mix ratio, batch size, and working time
- Resin viscosity and ambient temperature
- Mold orientation and wall thickness
- Trapped air and cure time
Smooth-On's documented process for a Klingon disruptor prop replica illustrates the sequence well: silicone mold, poured polyurethane resin, demold, trim flash, then prime and paint.

Step 1: Prepare the Master and Mold
Every scratch, seam, fingerprint, or rough edge on the master gets reproduced in every single cast. Seal porous masters before molding. Establish mold keys, plan your parting lines in advance, and design gates and vents for anything with tight undercuts or complex geometry.
Step 2: Measure, Mix, and Pour the Resin
Measure by the exact unit the manufacturer specifies. Don't eyeball ratios. Scrape the container walls and bottom thoroughly while mixing; unmixed streaks along the edges cause soft spots later. Pour from the lowest or most accessible point and let the resin rise through the mold rather than dumping it in from above, which traps air.
Step 3: Cure, Demold, and Finish
Follow the product's stated cure schedule. Surface hardness is not a reliable readiness test: a part can feel solid on the outside while the core is still curing. Once fully cured, demold carefully, trim flash, sand seams, fill pinholes, prime, paint, and check fit against the final assembly.
Choosing Materials, Molds, and Design Features
Resin Families Compared
| Resin type | Common use | Notes |
|---|---|---|
| Epoxy | Clear, durable parts needing longer working time | Lower shrinkage, longer cure |
| Polyurethane | Fast detailed replicas, production casting | Shorter pot life, wide hardness range |
| Polyester | Cost-sensitive or industrial casting | Longer cure, different exotherm profile |
| Castable resin | Patterns for a later material (metal, etc.) | Built for burnout or secondary processes |
As a concrete example, Polytek's Poly 15-3 polyurethane runs a 1A:1B ratio, a 15-minute pot life, and demolds in 12-16 hours at 73°F with Shore D80 hardness.
Compare that to a different formulation in the same family and the numbers shift substantially, which is exactly why you select by the product's technical data sheet, not by the resin's general category.

Selection criteria beyond the label include:
- Viscosity and how well it captures fine detail
- Working time versus demolding time
- Final hardness and flexibility
- Shrinkage and color/translucency
- Heat exposure tolerance
- Compatibility with your specific mold material
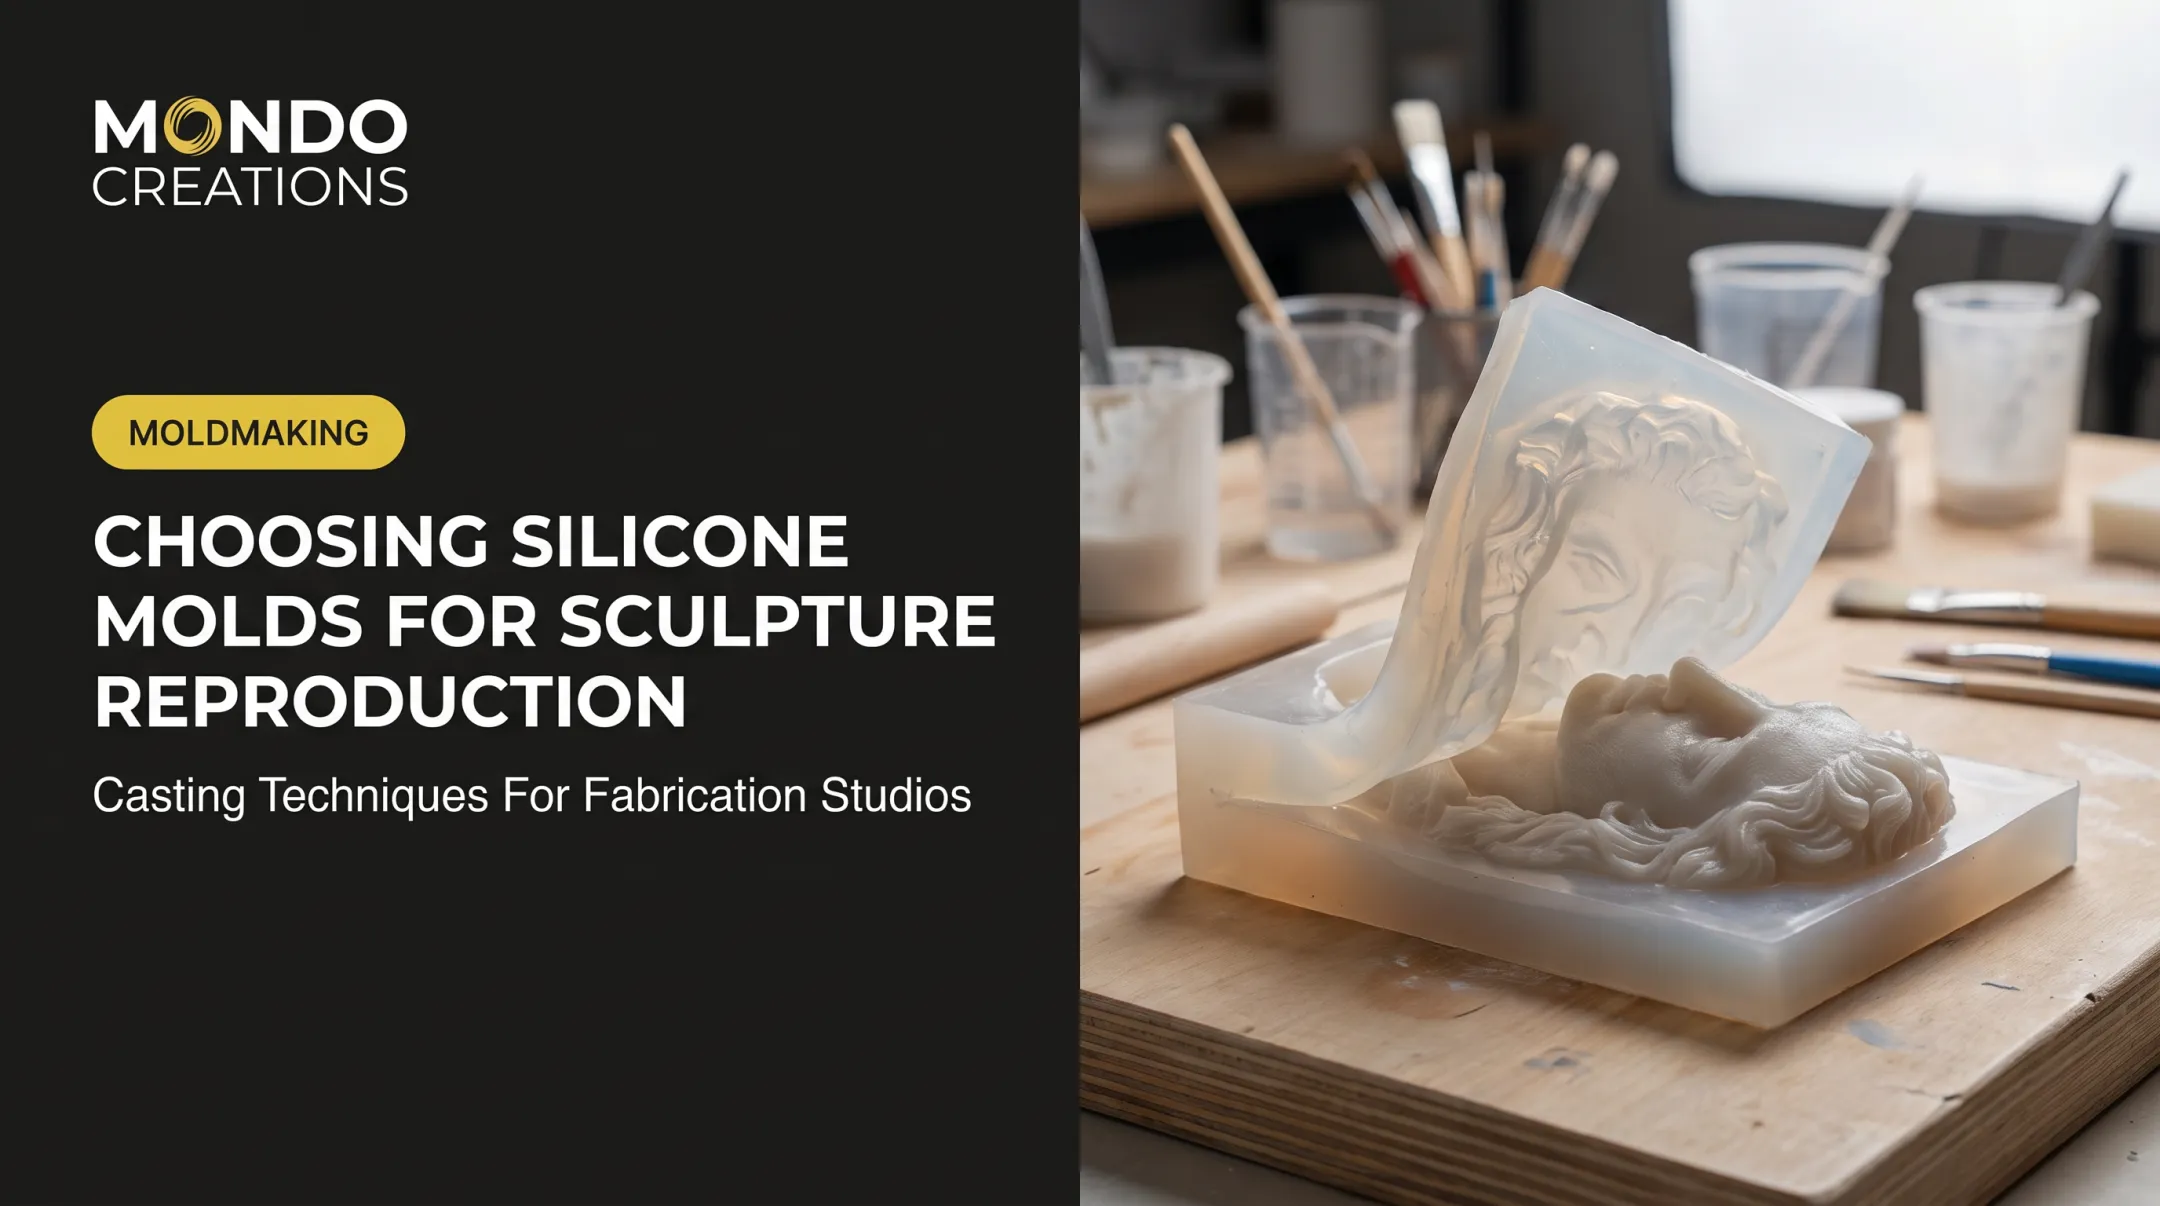
Why the Silicone Mold Matters as Much as the Resin
A poorly designed mold undermines even the best resin choice. Silicone hardness, tear strength, flexibility, and surface detail all affect the outcome.
Two-part molds handle undercuts better than open-face designs but add complexity. Weak mold design shows up as seams, distortion, or incomplete fills: problems that no amount of resin quality can fix after the fact.
Design Features Worth Planning Early
- Keep wall thickness as uniform as possible
- Avoid fragile unsupported projections that snap during demolding
- Build in drainage or air paths for trapped bubbles
- Plan parting lines before you sculpt, not after
- Use hollowing, cores, or armatures when weight and strength matter
Equipment like a pressure pot, vacuum chamber, or precision scale becomes worth the investment once you're producing repeat runs or chasing fine detail, but they're optional for a one-off hobby cast.
For projects involving branded environments, entertainment props, or collectible sculpture beyond small DIY casting, a studio like Mondo Creations handles the full translation from concept or 3D model into a finished, installation-ready, repeatable component. That includes the pattern and mold fabrication work that makes consistent casting possible in the first place.
Common Issues, Safety, and When Resin Casting Is Not Appropriate
Common Defects and Their Causes
- Bubbles: trapped air or inadequate venting during pour
- Sticky or soft areas: incorrect measurement or incomplete mixing
- Warping: uneven cure or premature demolding
- Incomplete fills: poor flow or insufficient resin volume
- Visible seams: parting-line placement issues
- Surface flaws: defects transferred directly from the master or mold
Misconceptions Worth Dropping
A high-detail resin doesn't fix a poorly finished master. A pressure pot or vacuum chamber reduces bubbles; it doesn't eliminate every defect. "Fully cured" doesn't automatically mean ready for heat exposure or structural loading. And not every resin is compatible with every silicone mold or release agent; test compatibility before committing to a production run.
Safety Comes from the Label, Not Assumptions
Follow the specific product's Safety Data Sheet, not general resin-handling folklore. OSHA's guidance on isocyanates notes that exposure can cause occupational asthma and irritation of the eyes, airways, and skin, relevant for many polyurethane systems. Ventilation and controlled workspaces are the primary protection, backed by appropriate gloves and eye protection based on your actual SDS.
Handle uncured resin as hazardous material. Store it properly, control spills immediately, and dispose of unmixed components according to local waste rules, not as if they were equivalent to a cured, inert part.
When to Skip Casting Entirely
- A one-off simple shape may be faster to fabricate directly, skipping the mold step altogether
- Very large structural pieces often need foam, fiberglass, or metal reinforcement instead
- Flexible or high-heat parts require a resin formulated for that specific use
- High production quantities may justify different tooling entirely
Test before committing to a final mold, especially for parts handled frequently, installed outdoors, transported repeatedly, mounted overhead, or used in a commercial entertainment setting.
Conclusion
Resin casting is a controlled reproduction process: a finished master, a suitable mold, the right resin, careful mixing and pouring, controlled curing, and post-processing, all working together. Detail depends on every stage of that chain holding up.
Match the process to your project's scale, quantity, finish requirements, and schedule. When a component needs to be production-ready or installation-ready, bringing in experienced fabrication support early saves far more time than troubleshooting a failed cast after the fact.
Frequently Asked Questions
How expensive is resin casting?
Cost varies with master complexity, mold size, resin type and volume, equipment, finishing labor, and how many copies you need. Material costs for a small DIY cast differ significantly from professional fabrication and mold tooling for a production run.
What type of resin is best for detailed models and props?
It depends on the detail level, strength, flexibility, cure speed, finish, and how the part will be handled. Check the product's technical data sheet and run a test cast before committing to a full production batch.
Can resin casting reproduce very small or intricate details?
High-quality masters paired with properly designed silicone molds capture fine detail reliably. Air traps, narrow passages, fragile features, and poor venting can all reduce accuracy, so mold design matters as much as resin choice.
How many times can a silicone mold be used for resin casting?
Mold life depends on silicone type, resin chemistry, release practices, geometry, and storage conditions. There's no universal number of casts. Abrasive resins and complex undercuts wear a mold faster than simple, smooth shapes.
Is resin casting safe for making props?
Follow the specific product's label and Safety Data Sheet for ventilation, protective equipment, and spill control. Handle uncured resin as hazardous material, separate from fully cured, inert parts.
What is the difference between resin casting and 3D printing?
3D printing builds a part directly from a digital file, layer by layer, with no mold required. Resin casting uses a physical master and mold to reproduce multiple copies, and suits runs where quantity and detail-matching matter more than rapid one-off iteration.