
Introduction
A custom trade show booth is a temporary branded environment, not a three-day rental backdrop. It has to deliver on visual design, visitor experience, budget control, and the logistics of getting a structure built, shipped, and installed on time.
Most exhibitors stumble over the same issues. Goals stay vague ("we need to stand out"), approvals drag past the point where revisions are still cheap, and show-service costs get underestimated until the invoice lands.
Material-handling base rates alone climbed 21.3% between 2022 and 2025 across major U.S. exhibit markets, according to EXHIBITOR's annual rates survey. Pair that with a design that looks great on paper but doesn't clear the loading dock, and the whole timeline stalls.
This guide walks through the planning sequence that avoids those problems: defining goals, translating them into a booth concept, selecting materials and features, building a realistic budget and timeline, and preparing for installation and post-show evaluation.
Key Takeaways
- Start with measurable goals, a defined audience, and a mapped visitor journey before any design work begins
- Material and feature choices should account for branding, accessibility, venue rules, shipping, and reuse
- Request an itemized quote that separates design, fabrication, graphics, technology, shipping, and show services
- A detailed project brief and early partner collaboration prevent expensive last-minute revisions
Define Your Trade Show Booth Goals and Requirements Before Designing
Design decisions made before goals are set tend to get reversed later, usually at a higher cost. Start with intent, not aesthetics.
Turn Broad Goals Into Specific Objectives
"Stand out" and "generate leads" aren't objectives you can design against. Break them into something concrete:
- Product demonstrations – measured by demo count and follow-up requests
- Scheduled meetings – measured by booked appointments versus walk-ups
- Brand awareness – measured by booth traffic, social mentions, or dwell time
- Sampling or education – measured by samples distributed or content downloads
- Lead capture – measured by qualified leads against your own criteria
That last point matters. A widely cited CEIR benchmark found that 39% of leads meet exhibitors' own qualification criteria among those who qualify leads at all (CEIR Industry Insights).
Treat that as a planning reference, not a guarantee. Define "qualified" before the show opens, not after.
Know Who's Walking the Aisle
Attendee role, buying stage, and industry need all shape the booth:
- Procurement teams want pricing and specs close at hand
- Technical buyers want a demo they can touch
- Executives want a private conversation, not a crowd
This affects messaging, seating, privacy, and how staff approach people.
Build the Project Brief
Document these before design starts:
- Event name, dates, and booth footprint
- Booth type (linear, peninsula, island) and venue constraints
- Brand guidelines and product/service priorities
- Required visitor actions (demo, meeting, sign-up)
- Staffing levels, storage needs, and accessibility requirements
Map the Visitor Journey
Picture the path from aisle to exit: eye-catching element first, then a conversation zone, demonstration area, lead-capture point, and a clear exit. Crowding all of this into one footprint creates bottlenecks. Leave breathing room, especially near the aisle entry.

Choose the Right Exhibit Format
| Format | Best for | Trade-offs |
|---|---|---|
| One-show custom build | A single flagship event | Highest design freedom, no reuse value |
| Reusable custom exhibit | Recurring shows, consistent branding | Higher upfront cost, lower per-show cost over time |
| Modular system | Multiple show sizes/frequent travel | Flexible footprint, less unique visual impact |
| Rental | Occasional shows or testing a concept | Lower commitment, limited customization |
Make the Core Design, Material, and Experience Decisions
Once the brief is locked, design decisions follow. This is where visual hierarchy, material choice, and technology either support the goals you set, or work against them.
Visual Hierarchy From the Aisle
Brand and primary message need to register from 20-30 feet away. Keep headlines to a handful of words. Reserve detailed specs, pricing, or technical content for closer conversations or a tablet in a staffer's hands, not the header graphic.
Comparing Booth Construction Materials
No single material wins across the board. Each trades off against the others:
- Wood/plywood – versatile, paintable, heavier; often reused or repurposed into crating and bases for future builds
- Aluminum framing – lightweight, reusable across show sizes, less sculptural flexibility
- Fabric graphics – low shipping weight, easy reprinting, lower visual depth than dimensional builds
- Foam, composite panels, acrylic – strong for dimensional shapes and lightweight props, but require venue-approved, flame-retardant specifications
- Metal and resin – durable for structural or decorative elements, heavier to ship
Venue fire rules aren't optional. McCormick Place, for example, requires fabric used in booth construction to pass NFPA 701 flame-testing and recommends keeping a certificate on hand to avoid on-site testing delays. Confirm your destination venue's specific requirements early, not during move-in.
Technology That Supports an Action
Lighting, screens, interactive demos, and sound only earn their place if they drive a specific visitor behavior. A screen nobody watches is dead weight. Before adding any tech element, confirm:
- Power and connectivity requirements with the venue
- Cable management and routing through the structure
- A testing window before the show opens
- Which staff member operates it
Sculptural Focal Points and Themed Elements
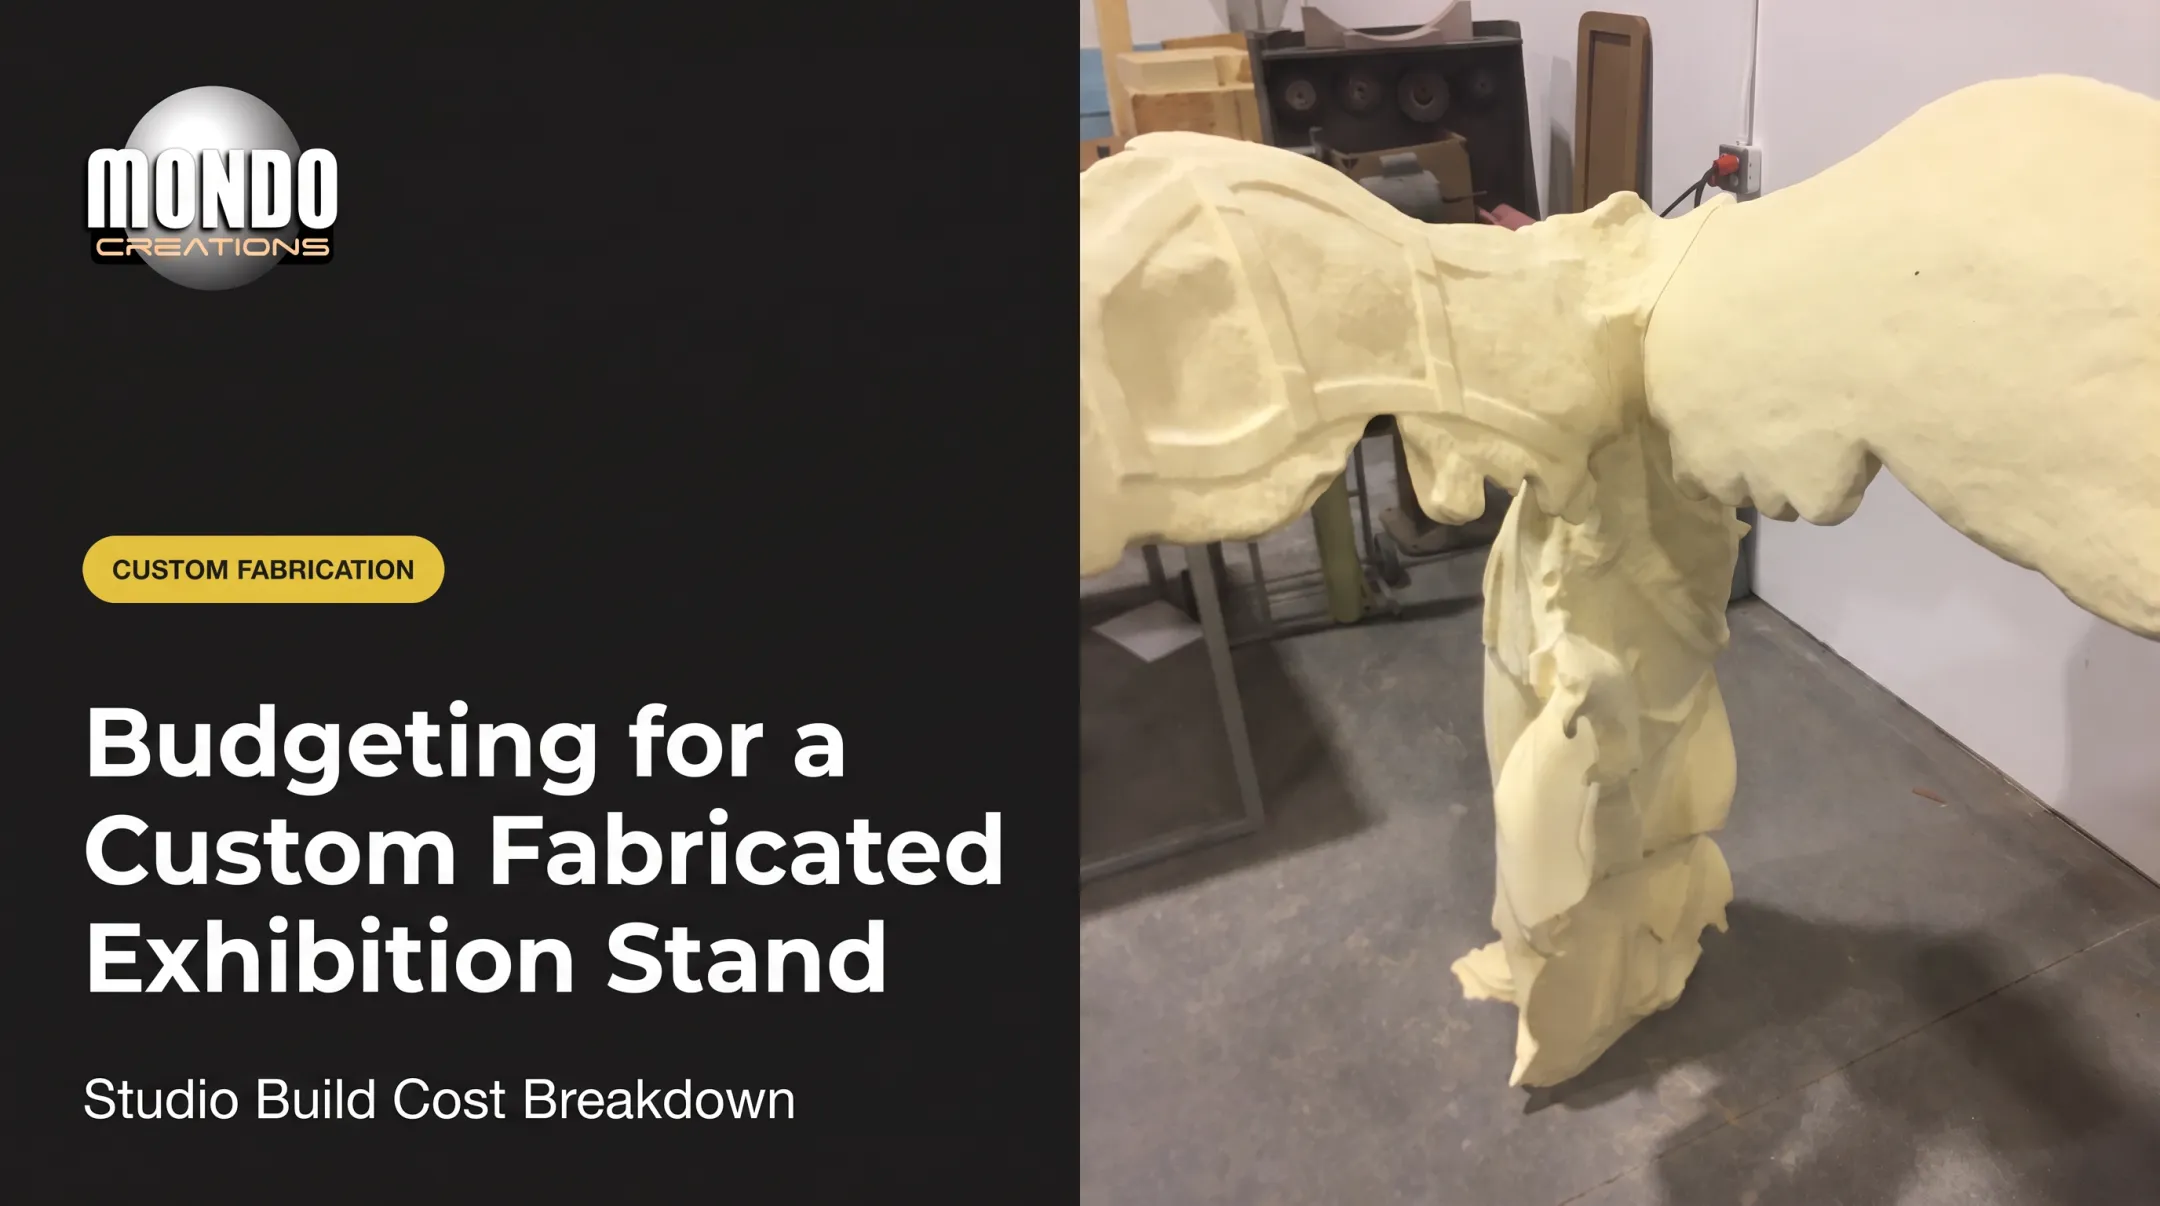
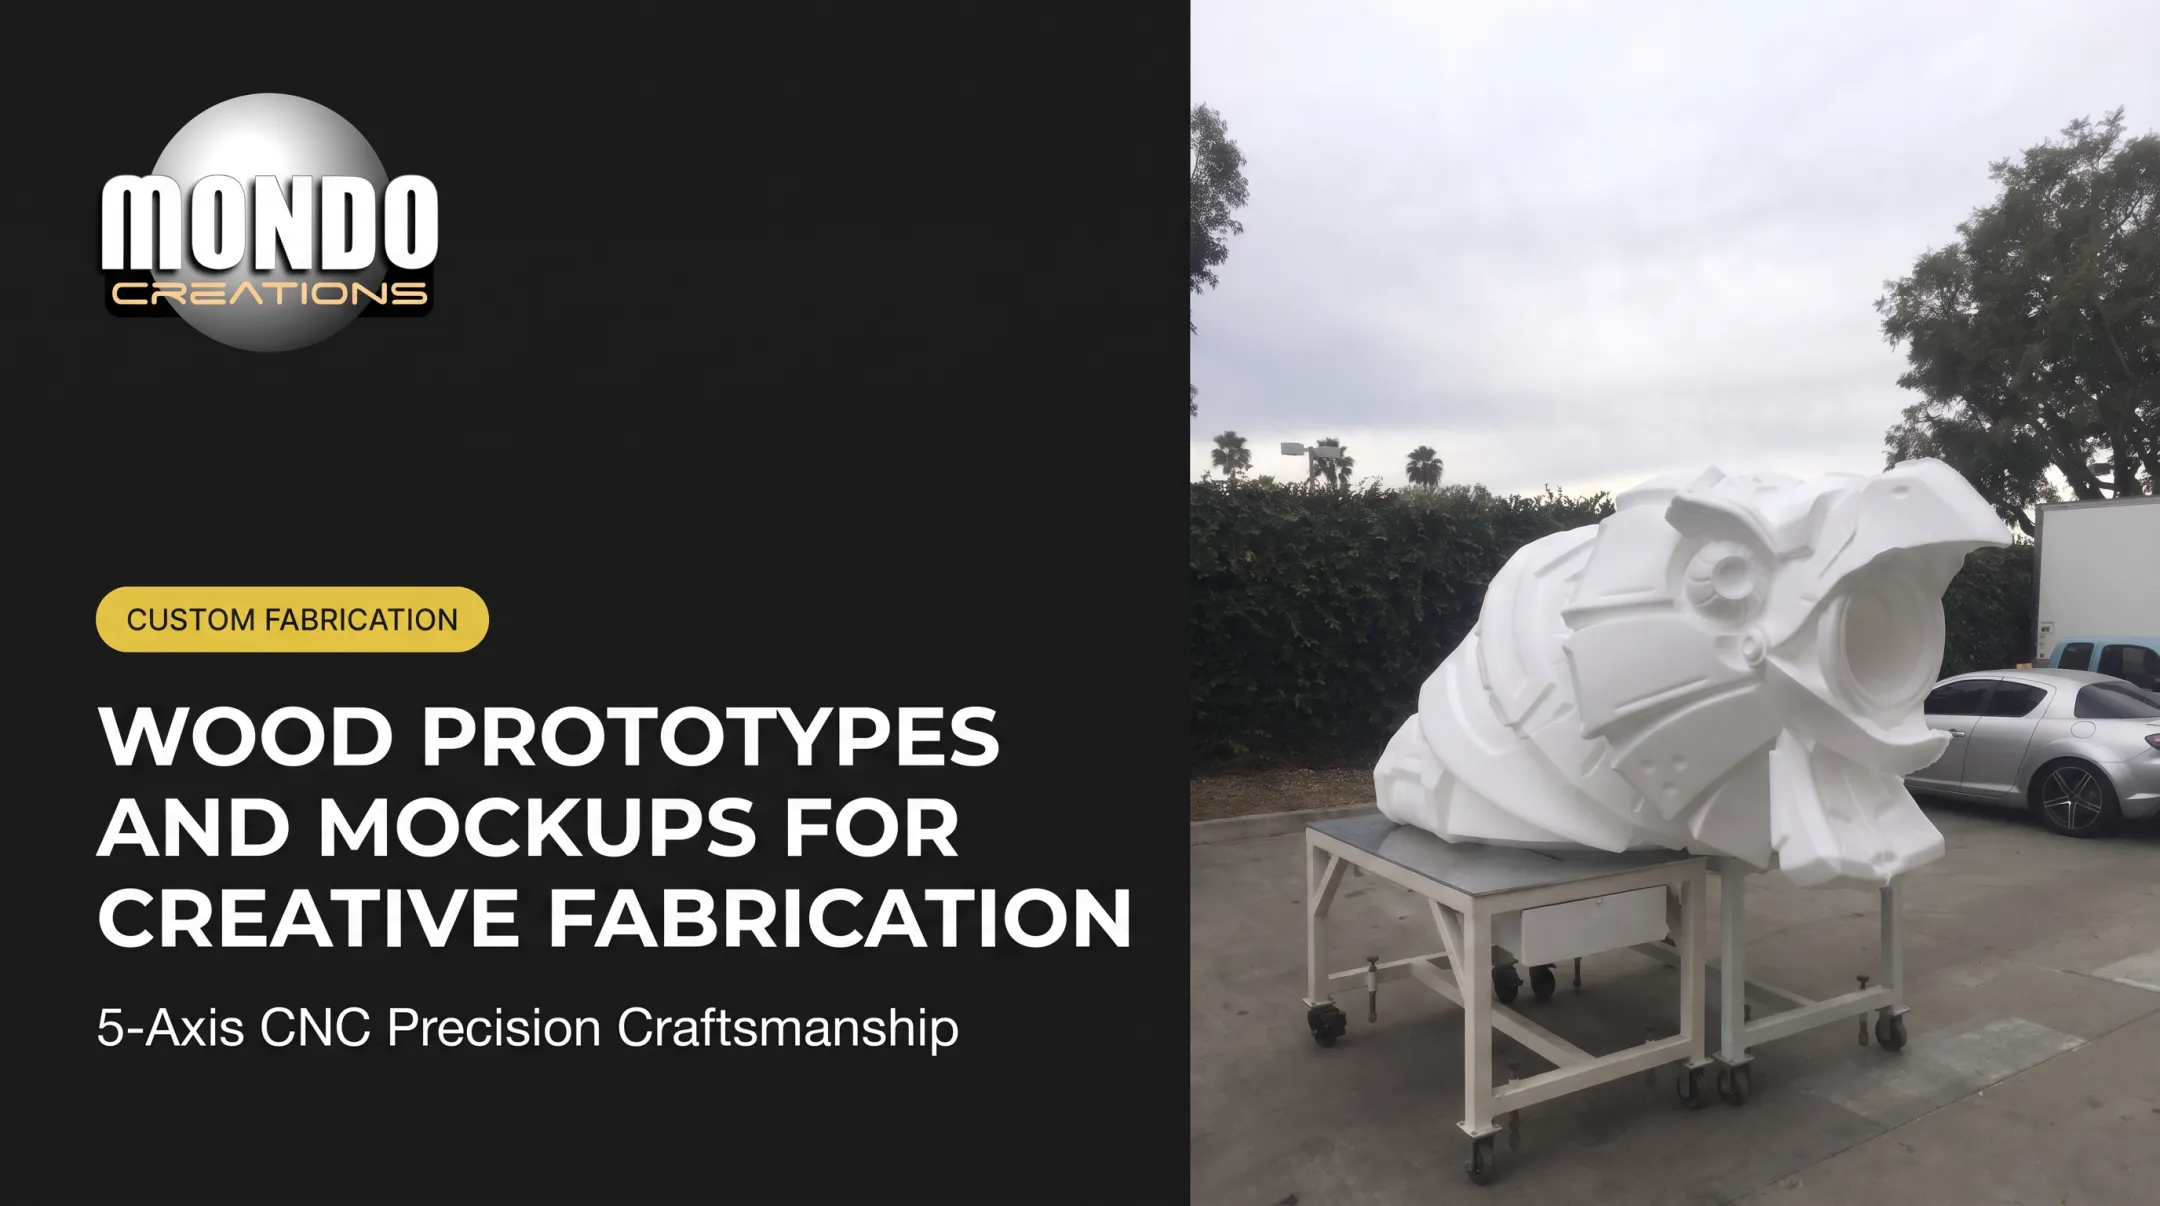
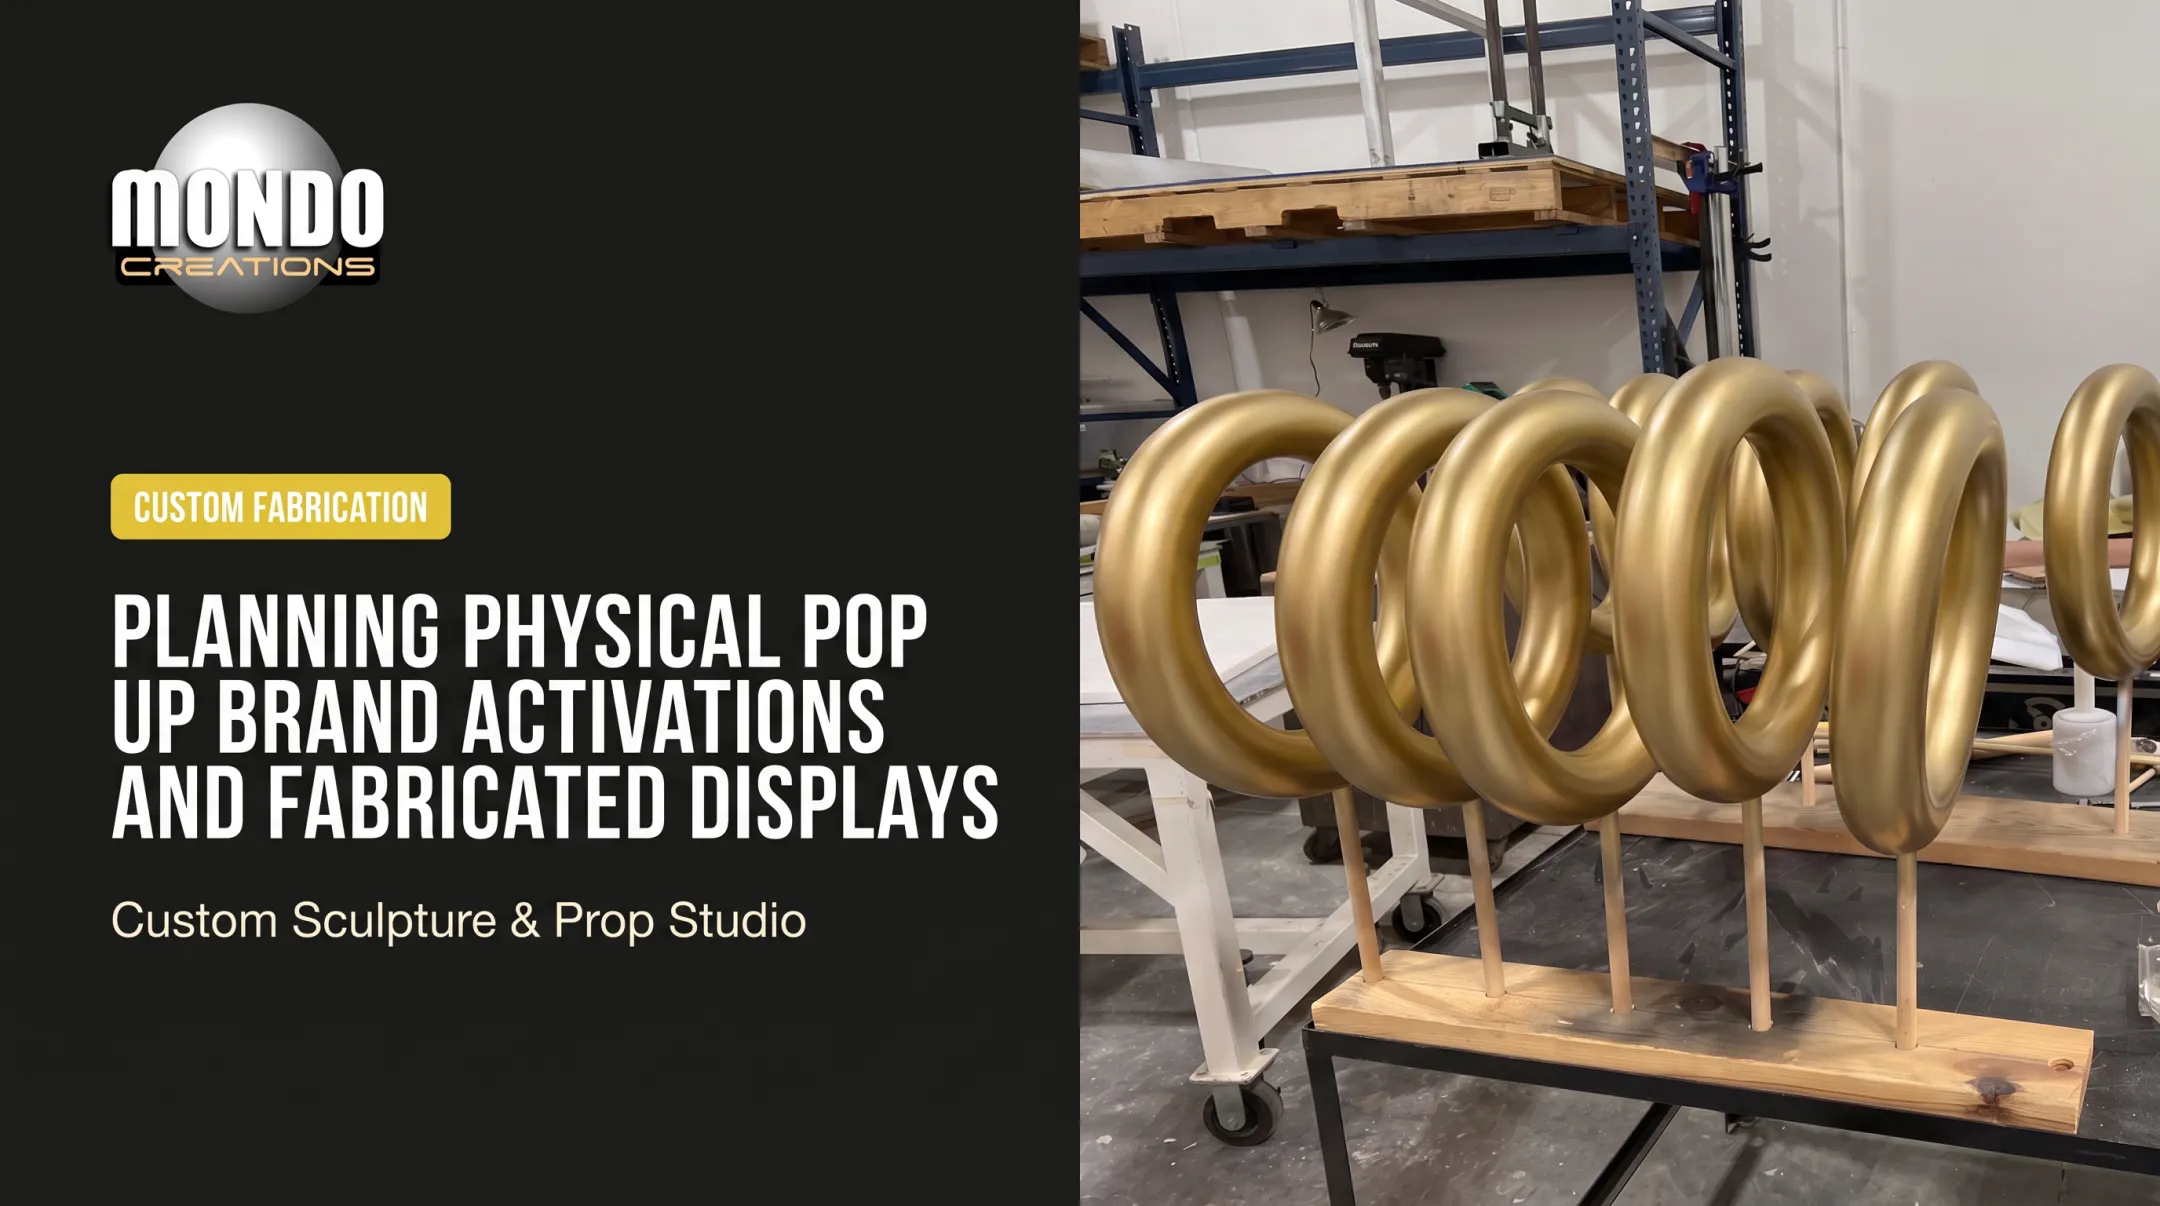
A dimensional, branded centerpiece (a character form, themed installation, or sculptural prop) creates a memorable focal point that photographs well and draws people in from across the hall. This is where specialist fabrication studios come in.
Mondo Creations, for instance, works in large-scale 5-axis CNC machining, foam fabrication, 3D modeling, and mold-based casting to produce custom sculptures and installation-ready props for entertainment, retail, and event clients. You bring that specialist in for the centerpiece itself, while the surrounding booth structure, graphics, and show services get handled separately (or coordinated through your exhibit partner).
Practical Requirements You Can't Skip
- Sightlines and open access points — no blind corners or single-file entries
- ADA accessibility — the 2010 ADA Standards explicitly cover exhibit areas as temporary facilities, generally requiring 36 inches of clear walking width and accessible counter heights
- Height limits — IAEE guidelines typically cap linear booths at 8 feet (rear half) and island booths around 16-20 feet, subject to venue-specific approval
- Storage, meeting privacy, and product security built into the floor plan, not added afterward
Review Before You Approve
Floor plans, elevations, material samples, 3D renderings, and a virtual walkthrough catch scale, sightline, and traffic-flow problems while they're still cheap to fix. Approve the concept through these tools before fabrication starts, not after.
Build a Realistic Booth Budget and Production Timeline
Booth cost depends on size, design complexity, materials, graphics, lighting, AV, custom sculpture, labor, shipping, and installation. There's no universal price point: every project has to be scoped individually.
Separate Two Budgets
Your construction budget and your total exhibiting budget are different things:
- Construction budget: design, fabrication, materials, finishes, graphics, lighting, AV, custom elements
- Exhibiting budget: floor space, electrical and internet service, material handling, freight, staffing, travel, promotional items, lead capture tech, cleaning, repairs, and storage
Show-service costs move independently of construction costs, and they move fast. Electrical overtime labor rates rose 41.2% from 2022 to 2025 across the exhibit markets tracked in EXHIBITOR's rates survey. Budget those line items separately so a single surprise invoice doesn't blow the whole plan.
What to Demand in an Itemized Proposal
Any serious quote should spell out:
- Inclusions, exclusions, and allowances by line item
- Labor assumptions and change-order policy
- Taxes, fees, and shipping responsibility
- Installation and dismantling scope
- Insurance requirements and payment milestones
Build the Timeline in Reverse
Start from the show's opening day and work backward:
- Discovery and creative brief
- Initial concepts and revisions
- Final approval and engineering
- Venue submissions
- Material procurement and fabrication
- Graphics production and pre-assembly
- Packing, shipping, and installation
- Testing and staff training

No single industry-wide lead-time figure applies to every custom build. Rushed timelines cut revision rounds, narrow material options, and often force expedited shipping or overtime labor, costs that could have been avoided with an earlier approval date.
Manage Fabrication, Quality Control, Installation, and Post-Show Use
Once drawings are approved, the project moves into production. Each stage should leave a paper trail (dimensions, finish specs, hardware choices) so nothing gets reinvented on-site.
From Drawings to Finished Build
Structural construction, finishing, graphics application, and technology integration happen in sequence, with inspection at each handoff point. 3D modeling and technical drafting at the front end define shapes, dimensions, and assembly details that fabrication teams build against later.
Pre-Assembly Is Not Optional
Stage the full booth before it ships. Check:
- Dimensions and graphic placement
- Color and finish quality
- Lighting, screens, and interactive components
- Furniture, storage, and fit of custom elements
Catching a misaligned panel in the shop costs far less than catching it during a two-hour install window.
Logistics and On-Site Readiness
Confirm exhibitor-manual deadlines, freight packaging, insurance, and material-handling arrangements well ahead of move-in. On-site, venues enforce their own safety rules. McCormick Place, for example, requires booth furniture and displays to stay clear of aisles, corridors, and exits.
A final walkthrough before doors open should test visitor flow, lighting, demos, lead-capture systems, and signage visibility, ideally with staff standing in position, not just an empty structure.
Plan for What Happens After
Reusable pieces need inventory records, protective packing, and a maintenance plan if they're coming back for another show. Decide which custom elements justify refurbishment versus replacement before the next event cycle starts.
Measure results against the goals set at the beginning: qualified leads, meetings booked, demo counts, dwell time, and cost per outcome. 81% of surveyed exhibitors evaluate attendee-engagement activities, and more than half conduct formal post-show evaluation, per IAEE/CEIR research. Feed those findings into the next booth brief.

Choose and Coordinate With the Right Booth Builder and Specialist Partners
Not every exhibit project needs one vendor doing everything. Larger builds often combine a full-service exhibit house with specialist contributors.
Vendor-Evaluation Checklist
- Relevant portfolio experience and design/engineering capability
- Fabrication capacity and realistic production schedule
- Clear project management and communication process
- Venue compliance knowledge and installation support
- Insurance coverage and verifiable references
Know Who Owns What
A full-service exhibit partner handles design, fabrication, and show-day logistics under one contract. A specialist fabricator, rental provider, or graphics vendor covers one piece of that puzzle. Before signing anything, confirm who owns each deliverable and who's responsible for solving problems on-site when something doesn't fit.
This matters most when a concept includes a custom branded sculpture or themed installation. Ask how your general contractor coordinates with sculptors, scenic fabricators, AV teams, and engineers on that piece specifically.
A studio like Mondo Creations can be engaged for the sculptural or fabricated centerpiece, built from CAD files, 3D scans, or reference sketches through CNC machining, moldmaking, and composite casting. Confirm booth-wide construction, shipping, and installation separately with your primary exhibit partner.
Use This Pre-Approval Checklist Before the Custom Booth Build
Before fabrication starts, confirm every item below is locked down.
Concept and goals:
- Event objectives, audience, booth size, layout type, and visitor journey
- Primary message, product priorities, staffing plan
- Storage, meeting needs, and lead-capture method
Venue compliance:
- Exhibitor manual, venue dimensions, height restrictions
- Fire and accessibility requirements, hanging-sign rules
- Power/internet needs, loading schedules, submission deadlines
Before fabrication:
- Approved drawings and material/finish specifications
- Itemized quote and production schedule
- Change-order terms and shipping plan
- Installation scope, dismantling plan, storage instructions
- Post-show evaluation criteria
Frequently Asked Questions
How much does trade show booth construction cost?
Cost varies by booth size, design complexity, materials, graphics, technology, custom fabrication, shipping, installation, dismantling, and venue services. Request an itemized, project-specific quote rather than relying on a general price range.
How do you design a trade show booth?
Start with goals and audience, then define the footprint, visitor flow, brand messaging, displays, meeting and storage areas, and accessibility needs. Confirm venue rules and budget, then review renderings before approving fabrication.
What are trade show booths made of?
Common materials include wood or plywood, aluminum framing, fabric graphics, foam, composite panels, acrylic, metal, and resin, often combined with lighting and digital components. The right mix depends on appearance, weight, durability, budget, and whether the booth will be reused.