
CNC machining cuts a form out of a solid block of material. 3D printing builds a form layer by layer from nothing. That difference sounds academic until you're staring down an 8-foot sculpture with a deadline attached.
For large-scale work, the method you pick affects structural strength, weight, surface prep, transport logistics, and total cost. A technique that works beautifully for a tabletop maquette can fall apart (sometimes literally) at full scale.
There's no universal winner here. The right call depends on the object's size, geometry, intended use, finish requirements, and whether a hybrid approach gets you the best of both worlds.
Key Takeaways
- CNC machining removes material from solid stock, delivering accurate forms, repeatable parts, and smooth surfaces, especially in foam.
- 3D printing builds objects additively, making it ideal for complex geometry, fast design iteration, and lightweight hollow forms.
- Large props almost always need segmentation, reinforcement, sanding, priming, and painting, regardless of method.
- Choose your process based on the full project brief: scale, strength, finish, transport, timeline, and quantity, not just machine cost.
CNC Machining vs. 3D Printing: Quick Comparison
Cost
CNC pricing stacks up across stock material, CAD/CAM prep, machine setup, fixturing, tooling, machining time, assembly, and finishing. Foam-carving quotes also factor in foam type and density, hand work and coating, plus crating and shipping (WhiteClouds).
3D printing often reduces tooling and setup for complex one-off shapes. But material choice, machine hours, support structures, sectioning, and post-processing can swing the final price just as much.
- CNC tends to win on repeated or straightforward forms
- Printing tends to win on one-off complex geometry with minimal tooling needs
Large-Scale Geometry
| Method | Example Machine | Working Envelope |
|---|---|---|
| CNC foam milling | FROGMill | 124 x 64 in. bed; 4-axis parts up to 4 ft diameter x 8 ft long |
| CNC scenic routing | AXYZ 6012 | 6.9 x 11.8 ft bed |
| Pellet printing | 3D Systems EXT 1270 | 50 x 50 x 72 in. build volume |
| Gel printing | Massivit 3000 | 57 x 44 x 71 in. build volume |

CNC mills carve large forms in sections, limited mainly by tool access and cutter geometry. 3D printers build complex contours and hollow interiors directly, but oversized pieces still get divided into printable sections once they exceed the build chamber.
Weight and Structural Performance
Weight depends on the stock, the internal design, and the reinforcement plan, not the method alone.
- CNC foam: A carvable stock like ELFOAM P400 rigid foam runs around 4.0 lb/ft³ with compressive strength near 85 psi parallel and 62 psi perpendicular to rise. Solid versus carved cores change weight dramatically.
- 3D printed: Infill percentage, shell thickness, print orientation, and material choice all affect rigidity. Large-format printers typically build hollow with internal ribs rather than full infill.
Pieces intended for handling or public display need physical testing, not just spec-sheet assumptions.
Surface Finish and Detail
CNC-milled foam produces a relatively continuous surface, but it still needs sanding, filling, and primer before paint. Vectric's documented finishing passes use a ball-nose cutter with an 8-12% stepover of tool diameter for a smooth final pass.
3D printing carries its own fingerprint: visible layer lines, seams between printed sections, and support marks. Guidelines for large-format pellet printing note that milling is often used afterward just to clean up the surface (CEAD).
Printing pulls ahead when the geometry includes fine or highly complex detail that would be slow or impossible to machine.
Speed, Repeatability, and Design Changes
CNC programming and setup take upfront time, but once the toolpath is locked in, repeating identical parts is fast and consistent. That matters for branded elements or matching components.
3D printing lets you send revisions straight back to the slicer. No new fixturing, no re-cutting stock. But long print times and failed prints eat into that advantage:
- A 13.8 x 4.9 x 4.3 ft printed vintage car took 96 print hours plus finishing
- A 5.9 x 7.6 x 9.8 ft printed triceratops took 51 print hours
- A 6.6 x 4.3 x 3.0 ft Spider-Man display took 24 print hours
(All figures from Massivit's scenic fabrication portfolio.) None of these include sanding, painting, or assembly time.
What Is CNC Machining for Large Props and Sculptures?
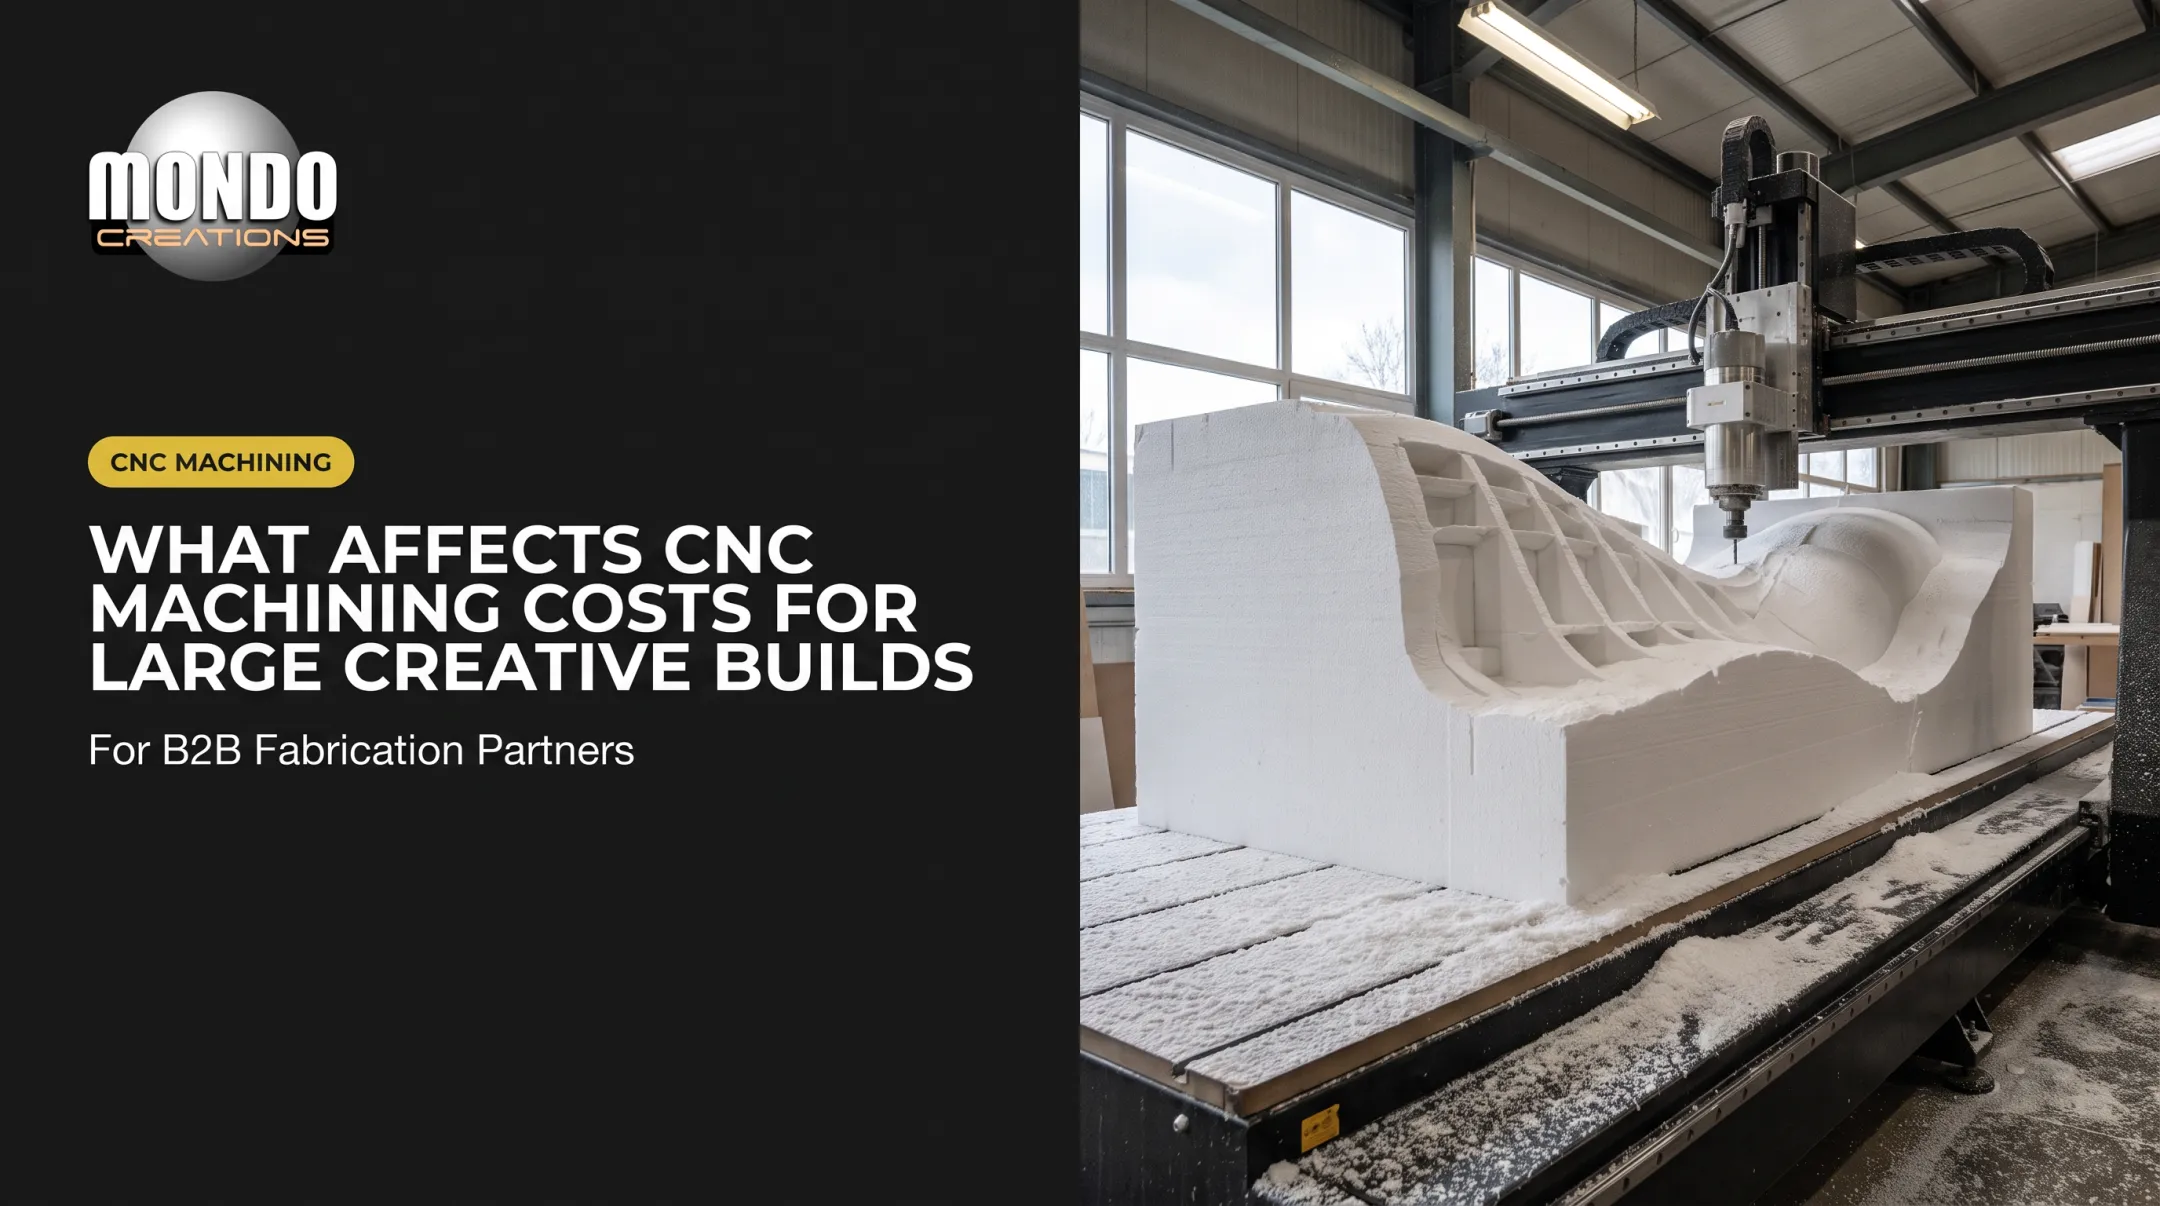
CNC machining uses computer-controlled cutting, routing, or milling to remove material from a larger block, sheet, or sculptural blank. For large props, that usually means CNC-milled foam rather than metalworking in the traditional sense.
The Workflow, Start to Finish
- Build or receive a 3D model
- Plan toolpaths (CAM) for roughing and finishing passes
- Select stock material and density
- Mill in sections if the form exceeds the machine envelope
- Assemble sections, often around an armature
- Sand, coat, prime, and paint

Mondo Creations runs this exact pipeline in-house, moving from CAD and 3D modeling through large-scale 5-axis milling of foam, wood, or tooling board, into finishing and assembly.
Where CNC Shines
- Controlled, repeatable profiles for branded or matching elements
- Predictable dimensions across sections
- Efficient shaping of broad sculptural surfaces
- Paint-ready foundation without extensive layer-line cleanup
A documented example: a 6-foot restaurant statue was CNC-carved from high-density polyurethane foam in sections (head, torso, hands, legs, base), reinforced with internal rods, then sanded, hard-coated, and finished with a faux-bronze paint treatment (WeCutFoam).
Where CNC Falls Short
- Cutter access limits reachable undercuts and tight interior geometry
- Seams between sections require hand-blending
- Material waste results from subtractive cutting
- Machine envelope caps single-piece size
CNC is a strong fit for oversized geometric sculptures, foam-carved forms, repeated branded elements, dimensional templates, molds, armatures, and props that need a smooth paint-ready base.
What Is 3D Printing for Large Props and Sculptures?
3D printing is additive fabrication: a form builds layer by layer from a digital model. For large props, that usually means large-format polymer printing (pellet or gel-based systems), distinct from the resin, powder, or metal processes used for smaller precision parts.
Why Fabricators Reach for It
- Complex geometry that would challenge a cutting tool
- Integrated details built directly into the form
- Rapid iteration on a digital model before committing
- Minimal dedicated tooling for one-off or short-run builds
- Lightweight, hollow construction that reduces weight and material use
Mondo Creations applies 3D printing for prototypes, maquettes, and intricate detail parts that support broader fabrication, often alongside polygon and NURBS surface modeling for organic, character-driven shapes.
Where It Gets Complicated
Large-format printing introduces its own set of practical limitations:
- Build-volume restrictions force sectioning on anything oversized
- Layer lines and seams need finishing work
- Print failures on long jobs cost real time
- Anisotropic strength leaves the part weaker across layers than along them
- Support structures add material and post-processing
CEAD's large-format printing guidelines flag cooling, overhang collapse, and distortion as recurring risks on big builds. Those issues don't show up the same way on smaller desktop prints.
Print Settings That Actually Matter
These variables shape the final result:
- Shell thickness and infill level
- Part orientation and layer resolution
- Material choice
- Support strategy around mounting or handling points that need extra reinforcement
3D printing fits best for:
- Character components and intricate ornaments
- Unusual geometric forms
- Design prototypes and custom replacement parts
- Large lightweight forms built for substantial finishing afterward
Which Is Better for Large Props and Sculptures?
There's no blanket answer. Work through these seven questions instead:
- How large is the object?
- How complex is the geometry?
- Will it be handled repeatedly or exposed outdoors?
- How smooth must the final finish be?
- Does it need to stay lightweight?
- How many versions or copies are required?
- What's the deadline, and how will it be installed?
Choose CNC machining when the project needs:
- Broad controlled surfaces and repeatable profiles
- Predictable foam or plastic shaping
- A fast path to a paint-ready base for conventional reinforcement and finishing
Choose 3D printing when the project needs:
- Complex contours and integrated detail
- Rapid digital revisions
- Hollow, lightweight construction
- Geometry a cutting tool simply can't reach
The Hybrid Approach
Often, the smartest answer is both. CNC mills the primary volume. 3D printing handles complex details or connectors. Structural reinforcement goes in where loads demand it. Hand finishing, paint, casting, or metal components round out the final appearance.

This is how Mondo Creations approaches most large-scale commissions: concept and 3D modeling lead into CNC milling, foam fabrication, resin casting, and finishing for an installation-ready piece.
If you've got a prop or sculpture concept in mind, send over your dimensions, reference files, intended environment, finish expectations, and timeline. That's enough to start a real project assessment.
Real-World Examples and Project Scenarios
Scenario 1: Lightweight, Mobile Prop (CNC Favored)
A touring prop or themed-entertainment piece needs to survive repeated loading, unloading, and venue changeovers. CNC-milled foam, sectioned and reinforced with an internal armature, keeps weight manageable for crews moving it in and out of vans.
A festival-scale head sculpture illustrates this directly: built to fit inside a standard van with wooden ramps for loading, and mounted on a wheeled platform for easy repositioning at the venue. That's a weight and mobility problem CNC foam solves well.
Scenario 2: Complex Character Geometry (Printing Favored)
A character sculpture with unusual contours, flowing details, or organic surfaces that a rotary cutter can't easily reach is a better candidate for 3D printing. Massivit's printed Singapore Bicentennial "Time Tree" stump measured roughly 14 x 12 x 11.5 ft. It took about 150 print hours and 770 lb of gel material, plus an internal metal frame and fiberglass finishing afterward.

Scenario 3: Hybrid Build
Many large installations split the work: CNC carves the primary structural volume, while printed components handle fine detail, connectors, or small repeatable elements. WhiteClouds' documented foam-build practice follows this exact pattern:
- Lightweight foam for the main volume
- Denser foam or printed parts for detail
- Metal for structural loads
- Wood for mounting
The decision cue is simple: if the bulk of the form is broad and sculptural, start with CNC. If the detail is the hard part, let printing carry that piece.
Have a large prop or sculpture concept that doesn't fit neatly into one bucket? Reach out to Mondo Creations with your reference materials and timeline for a fabrication recommendation built around your actual requirements.
Conclusion
CNC machining is often the stronger choice for controlled, repeatable large forms and sculptural blanks. 3D printing tends to win when the geometry is complex, the form needs to stay light, or the design is still evolving.
In practice, the best results usually come from combining both, paired with sculptural craftsmanship, reinforcement, finishing, and installation planning. The finished piece then looks right, holds up structurally, moves easily, and arrives install-ready.
Frequently Asked Questions
Is metal 3D printing cheaper than CNC?
It depends on part geometry, metal type, setup requirements, quantity, tolerances, and finishing. For large props and sculptures, though, the comparison usually involves foam or polymer fabrication rather than metal printing at all.
Can a 3D printer be used as a CNC machine?
Standard 3D printers and CNC machines use different systems: one deposits material, the other removes it. Some hybrid machines do combine both processes, including printers with an optional milling spindle for post-print cleanup.
Is CNC harder than 3D printing?
Neither is universally "harder." CNC demands strong programming, fixturing, and tool knowledge. 3D printing requires slicing expertise, orientation planning, and troubleshooting failed prints. Both need skilled operators.
Is CNC or 3D printing better for large sculptures?
It depends on size, geometry, weight targets, structural needs, and deadlines. Broad, controlled surfaces usually favor CNC. Complex, lightweight, or frequently revised geometry usually favors printing.
Which method produces a smoother finish for large props?
CNC-machined foam typically needs less layer-line cleanup than a printed surface. That said, both methods require sanding, filling, priming, and painting to reach a presentation-ready finish.
Can CNC machining and 3D printing be used together for one sculpture?
Yes, and it's common practice. CNC mills the primary volume while printed parts supply complex details, connectors, or templates, with final assembly and finishing tying everything together.