
Introduction
A broken sculpture, a discontinued part, a prop that needs three identical copies: 3D scanning and printing turn a physical object into digital geometry, then back into something you can hold. Scanning captures the shape. Printing builds a new copy from that data.
But scan-to-print isn't a copy machine. A 2009 Smithsonian conservation study printed a Mongolian stone sculpture at 75% scale and found visible build lines on the replica, showing that even careful capture leaves a gap between original and output (Smithsonian, 2009).
Surface finish, hidden geometry, scale, material choice, and post-processing all shape the final piece. This guide walks through the full workflow: defining your goal, scanning the object, cleaning the digital model, preparing it for printing, and finishing the output into something display-ready.
Key Takeaways
- Reproduction quality depends on software, mesh cleanup, scale accuracy, wall thickness, and material, not just the scanner and printer
- Shiny, transparent, dark, or deeply recessed surfaces often need special prep or manual modeling
- A scanned mesh works for visual replicas; functional parts usually need reverse engineering into CAD
- Final appearance depends heavily on sanding, priming, painting, and assembly after the print finishes
How to Reproduce a Physical Object Using 3D Scanning and Printing
Step 1: Define the Reproduction Goal and Inspect the Original
Before touching a scanner, decide what "reproduction" actually means for this project.
- Exact-size duplicate versus a scaled model or replacement part
- A modified design, collectible, prop, or artistic reinterpretation
- Record approximate dimensions, fragile areas, moving parts, and surface finishes that must stay accurate
Check legality too. Branded characters, copyrighted artwork, product designs, and personal likenesses all carry reproduction restrictions worth confirming before you commit studio time.
Step 2: Prepare the Object and Scanning Environment
Clean the surface. Stabilize the object so it doesn't shift mid-scan. Control lighting to avoid harsh shadows that confuse the capture software.
Reflective, transparent, very dark, or texture-free surfaces often produce incomplete scan data. A removable matte spray or temporary reference markers can solve this without damaging the object.
Scanner choice depends on the object:
| Object Type | Typical Scanner Approach |
|---|---|
| Small, detailed items | Desktop or high-resolution structured-light scanner |
| Medium sculptures | Handheld scanning system |
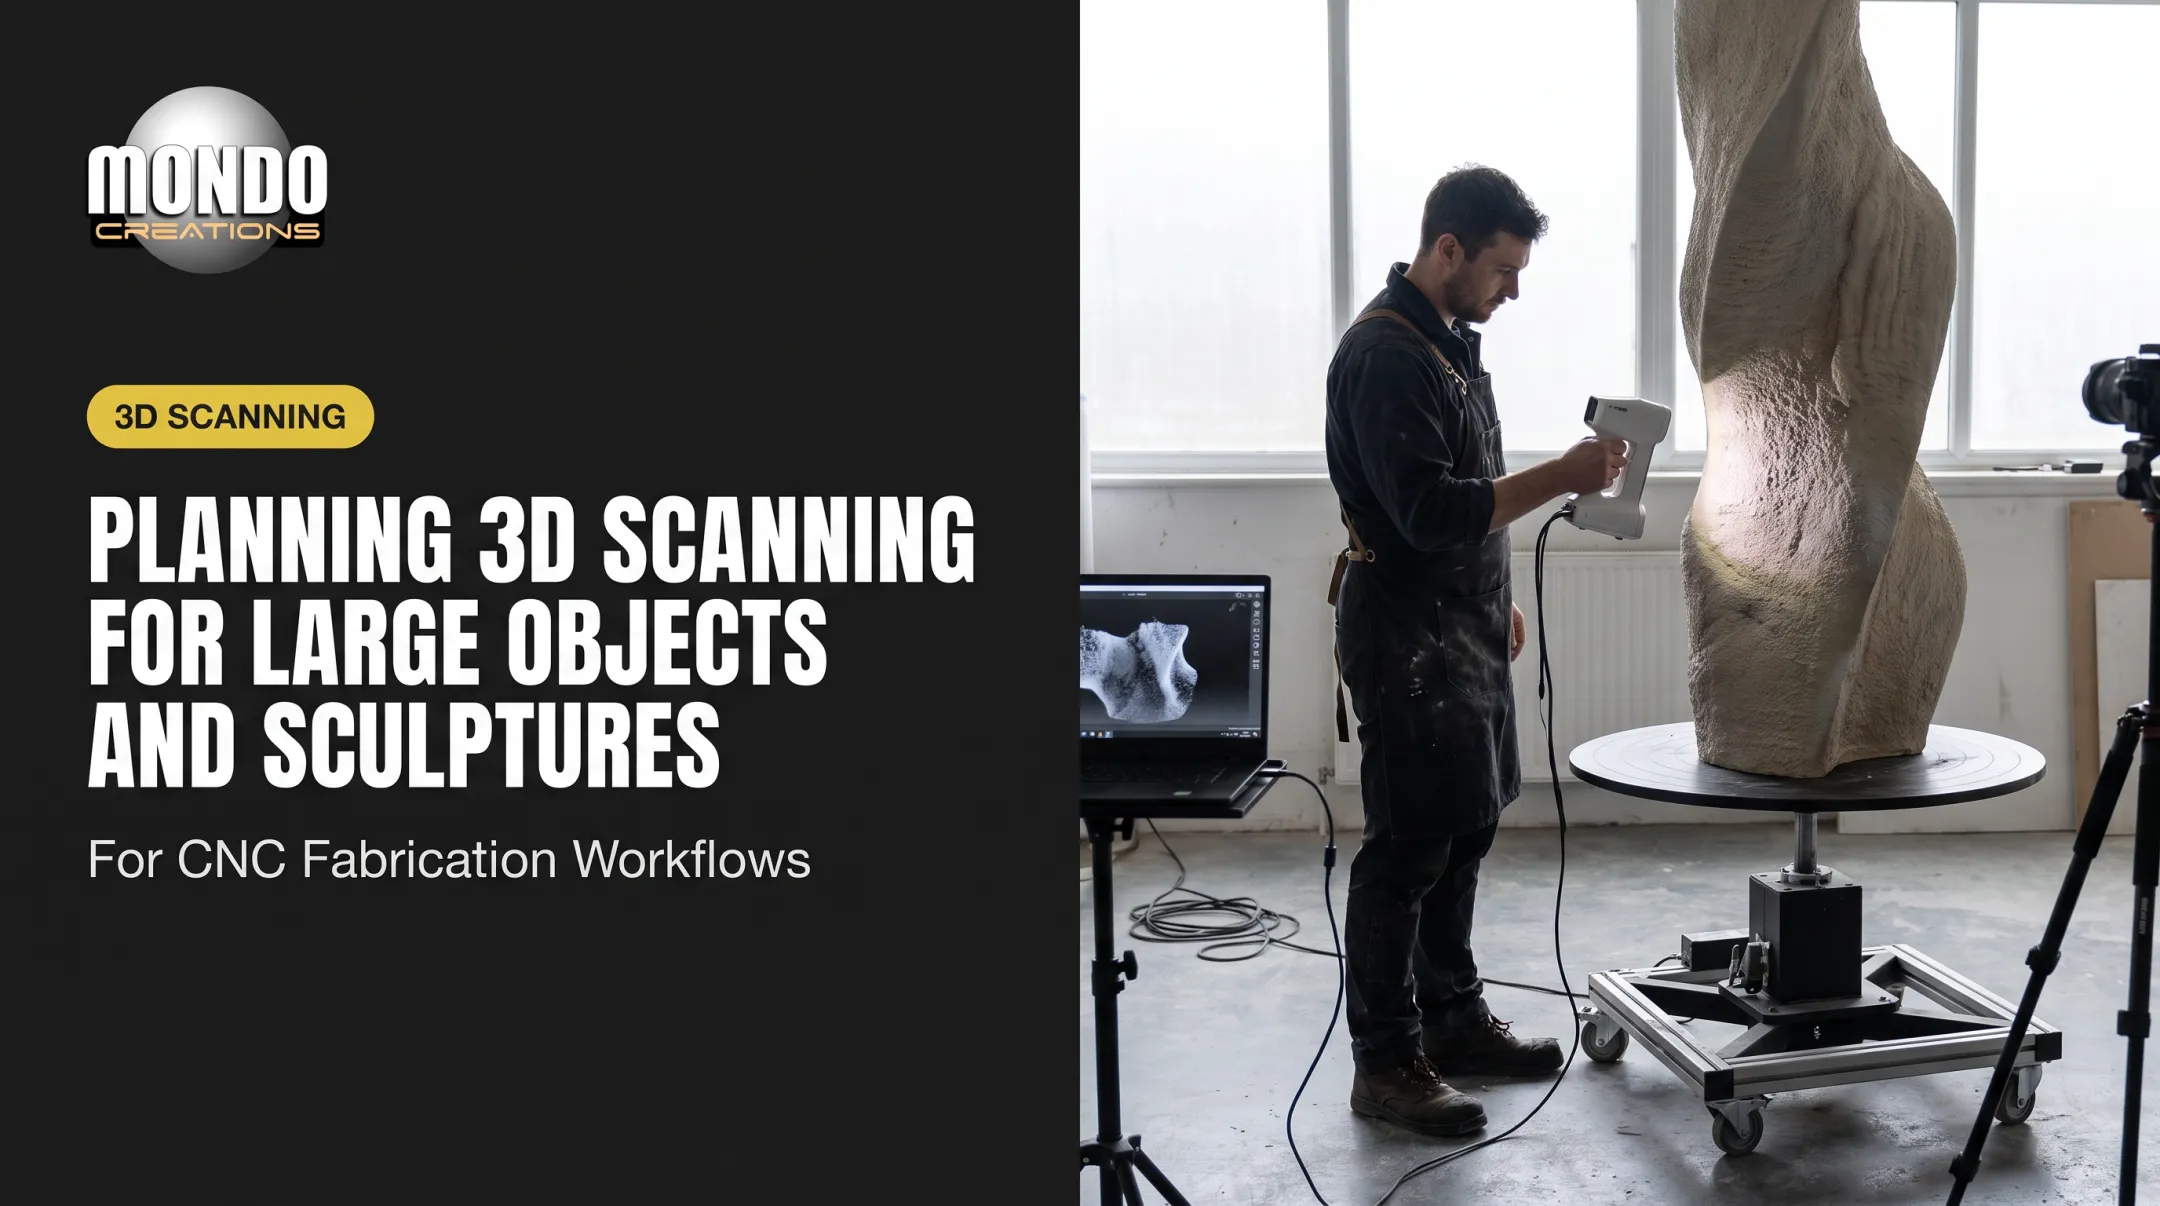
| Large objects or installations | Photogrammetry, LiDAR, or sectional capture |
Don't assume every scanner performs the same: check the manufacturer's stated accuracy and resolution figures against your object's scale.
Step 3: Capture Overlapping Scans from Multiple Viewpoints
Move the scanner (or the object) so each pass overlaps the last. This gives the software enough shared geometry to align everything into one coherent model.
- Capture undercuts, cavities, thin features, and hidden surfaces separately if needed
- Watch the live preview for holes, drift, or tracking loss — don't wait until the session ends to find out something's missing
- For large pieces, scan in sections and align them later using consistent reference points and scale
Catching a gap mid-session saves an entire re-scan later.
Step 4: Clean and Repair the Scan Data
Raw scan data is messy. Strip out background geometry, floating fragments, and tracking artifacts, then align the separate passes into one model.
A scanned mesh describes the surface you captured. It is not the same as a solid or parametric CAD model, which is easier to dimension and edit. For a watertight, printable file, you'll need to:
- Fill gaps and close open edges
- Correct flipped normals
- Check for non-manifold geometry (Blender's print toolbox flags any edge not shared by exactly two faces)
Be careful not to fill openings that serve a functional purpose, like drainage channels or assembly joints.
Step 5: Make the Model Printable
Set the correct scale and orientation. Verify wall thickness. Hollow out large solid forms where appropriate, and add drainage holes if your printing process requires them.
Oversized objects usually need splitting into printable sections:
- Divide the model along natural seams or flat planes
- Add alignment keys or locating features so sections fit back together
- Build in fastener points or internal reinforcement for the final assembly
Export as STL (geometry only, no scale or material data) or 3MF (can retain units, color, and texture info) depending on your slicer. Then inspect the file for unsupported overhangs, thin walls, and build-volume conflicts before committing to a full print.

Step 6: Print, Inspect, Assemble, and Finish
Select a process and material based on size, detail, strength, flexibility, and whether the piece will live indoors or out.
Print a small test section first if fit, scale, or surface detail feels uncertain. Compare it against the original object and revise the model before running the final print.
Finishing usually involves:
- Support removal, washing, or curing (depending on process)
- Sanding and filling seams
- Priming, painting, and clear coating
- Assembly and structural reinforcement
This is where a digitally accurate model becomes a physically convincing object. The finishing work matters as much as the scan did.
When Should You Use This Workflow and What Do You Need?
Scan-to-print earns its keep when an object already exists physically but no CAD file does: complex organic shapes, one-off sculptures, or parts you need duplicated, modified, or archived.
Equipment categories needed:
- A scanner or photogrammetry system matched to the object's size
- Controlled lighting and staging
- A capable computer plus scan-processing, mesh-repair, and slicing software
- A printer, or a qualified print provider for larger or more technical jobs
Information to gather before requesting a quote:
- Object dimensions, photos, and desired final scale
- Quantity needed and surface/color requirements
- Intended use, delivery deadline, and installation conditions
- Whether the original object is physically accessible for scanning
Safety and compliance:
Resins, solvents, powders, and finishing coatings require proper ventilation and handling. For oversized, multi-part sculptures, branded environments, or anything installed in a public space, bringing in a professional fabrication studio reduces risk considerably.
Mondo Creations handles this end of the workflow. The studio works from a physical reference, 3D model, or sketch and carries a project through scanning, 3D printing, CNC machining, moldmaking, and finishing into an installation-ready sculpture or themed piece.
That pipeline matters for entertainment producers, brands, and collectors who need more than a desktop print: full-pipeline capability turns a prototype into a finished installation.

Key Parameters That Affect Replica Quality
The final replica is only as good as the weakest stage in the pipeline. A precise scan can still produce a poor result if the model or print setup is wrong afterward.
Scan Accuracy, Resolution, and Coverage
Accuracy and resolution aren't the same thing. Accuracy measures how close the scan is to real-world dimensions. Resolution measures how much fine surface detail gets captured (Artec 3D).
Published scanner specifications vary widely by category:
- Desktop structured-light scanners: point accuracy in the single-digit micrometer range, suited to small detailed objects
- Handheld laser scanners: accuracy around 0.025mm, good for walking around medium parts
- Long-range laser scanners: accuracy of a few millimeters at distances of 10+ meters, built for large objects and environments
Scan angle, distance, overlap, and calibration all affect alignment quality and how much geometry goes missing.
Surface Properties and Lighting
Gloss, transparency, darkness, and strong shadows interfere with optical scanning. Preparation needs to stay removable and safe for the specific object. A temporary matte coating works for many surfaces, but it can also mask color and texture data you'll want for painting later.
Mesh Quality, Scale, and Model Decisions
Watertightness, polygon density, and scale calibration all trade off against file size. A visual replica can usually stay as a surface mesh. Anything requiring tight tolerances, mating parts, or repeated production should get rebuilt as parametric CAD instead.
Printing Process, Material, Orientation, and Supports
| Process | Best For | Watch Out For |
|---|---|---|
| FDM | Durable parts, outdoor use with ASA | Visible layer lines, weaker Z-axis strength |
| SLA/DLP resin | Fine detail, smooth surfaces | Washing and post-curing required |
| SLS | Complex shapes without supports | Grainier finish, powder removal needed |
| Material jetting | Full-color, fine-feature display pieces | Less suited to heavy-duty end use |
Layer orientation matters more than most people expect. FDM parts are typically weaker along the Z-axis because interlayer bonds, not the filament itself, determine strength in that direction. Orient load-bearing features with that in mind.
Post-Processing and Finishing
Seams, support marks, and layer lines can remain visible even on an accurate model. Sanding, filling, priming, painting, and clear coating close that gap. For display or installation pieces, casting from a printed master is often the more durable long-term path.

Common Mistakes and Troubleshooting
Most reproduction problems trace back to a handful of recurring issues:
- Assuming one scan captures everything. Missing geometry, reflective-surface artifacts, and scale errors almost always mean a rescan of specific angles is needed, not a full redo.
- Treating every scan as print-ready. Check for open meshes, non-manifold edges, inverted normals, floating fragments, paper-thin walls, and unintended holes before you slice anything.
- Picking the wrong workflow. Direct mesh printing isn't always the answer. CNC milling, mold-making, and casting can be more efficient or more accurate depending on the object and quantity needed.
- Skipping legal checks. Copyright holders control reproduction and derivative works of protected designs (U.S. Copyright Office). Likeness rights, branded characters, and public-art installations each carry separate considerations worth confirming before fabrication starts.
For large or structurally demanding pieces, a professional review before installation is essential. Skipping it turns a display piece into a liability.
Conclusion
Reproducing a physical object with 3D scanning and printing is a connected workflow: capture the geometry, repair and adapt the model, prepare it for the right printer, then inspect and finish the result.
The best approach balances fidelity, material performance, production scale, finishing expectations, budget, and legal requirements rather than chasing maximum scan detail alone.
If your project involves a custom sculpture, themed installation, or branded environment built from a physical reference, Mondo Creations handles the full pipeline from scan to finished, installation-ready piece. Get in touch or call 805.500.8059 to talk through your project.
Frequently Asked Questions
How much does 3D scanning and printing cost?
Cost depends on object size, geometry, surface prep, scanning time, modeling or repair work, material, print volume, quantity, finishing, and delivery. Request a project-specific quote rather than assuming a flat rate.
How much does it cost to have something 3D scanned?
Scanning-only pricing is lower than full reproduction, which adds cleanup, CAD conversion, printing, finishing, and delivery costs on top. Share object size, detail requirements, and location for an accurate estimate.
How do you go from a 3D scan to a 3D print?
Capture and align the scan, then clean and repair the mesh into a watertight model. Check scale and wall thickness before you slice, print, inspect, and finish the part.
Can you scan and 3D print something?
Many objects can be scanned and printed, though size limits, reflective or transparent surfaces, hidden geometry, fragile materials, accuracy needs, and copyright affect feasibility. Let material and intended use guide the approach.
How do you turn a LiDAR scan into a 3D model?
LiDAR captures a point cloud that needs registration (aligning multiple scans into one coordinate system), filtering, and conversion into a surface mesh. Additional modeling is usually needed before the result is detailed enough for printing.