
Introduction
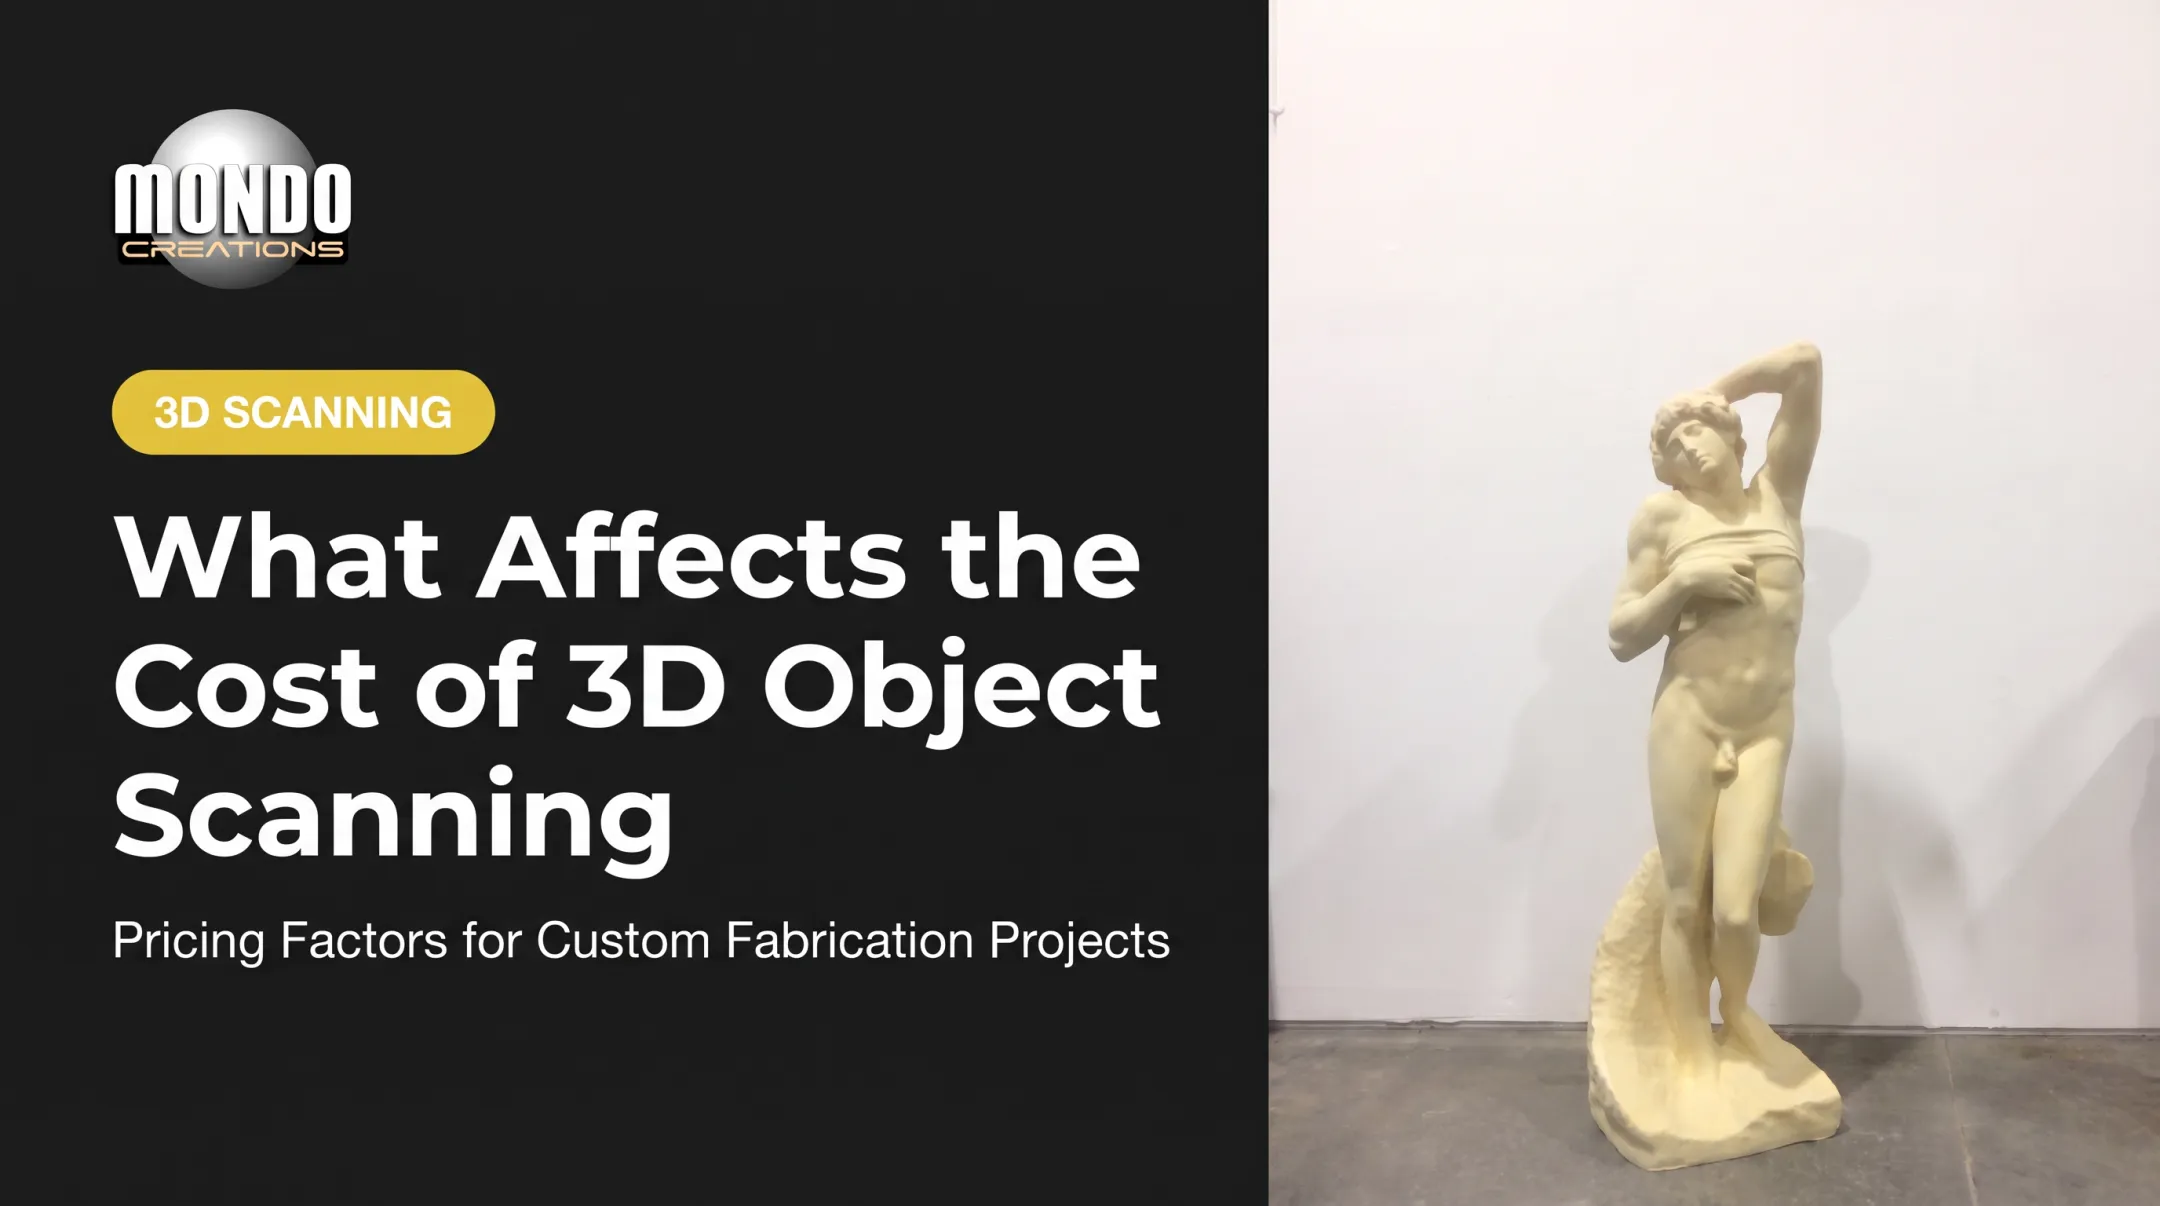
Scanning a 12-foot bronze warrior isn't like scanning a coffee mug. Scale changes everything: alignment drifts across larger surfaces, lighting shifts outdoors, and one missed pass under the base can cost you an entire reshoot.
Many studios treat 3D scanning as a single step: point the scanner, walk around the object, done. That approach falls apart fast on anything larger than a filing cabinet.
The right scanning plan depends entirely on what happens after the scan. Digital preservation, museum documentation, resizing, mold-making, restoration reference, and new fabrication builds each demand different resolution, color data, and file structures. A model built for a web viewer won't survive a CNC router.
This guide walks through the planning sequence: defining your brief, prepping the site, picking capture technology, managing the data, and turning the finished scan into something usable, whether that's an archive, a replica, or a full installation.
Key Takeaways
- Define end use first: archival, visual, and fabrication-ready models need different detail levels
- Plan alignment around surface type; smooth or symmetrical forms need markers to avoid drift
- Inspect dark, glossy, translucent, or fragile areas before capture day
- Lock file formats, tolerances, and usage rights before the first scan pass
Planning the Project Before Scanning
Nail Down Purpose and Success Criteria
Every scan plan starts with one question: what is this model for? A museum archive prioritizes completeness and documentation — every chip, tool mark, and patina variation matters.
A fabrication project prioritizes something different: watertight geometry, accurate scale, and clean surfaces a CNC machine or mold-maker can actually work with.
Mixing these goals up wastes time. A scan captured for a web viewer, at low polygon density with baked textures, won't hold up as a CNC toolpath source.
Before scheduling anything, write down the deliverable: archive, replica, restoration reference, scaled version, casting pattern, or marketing asset. That single decision drives resolution, color capture, and mesh quality for everything downstream.
Document Condition and Survey the Site
Record the sculpture's dimensions, weight, material, and any existing damage before anyone picks up a scanner. Photograph delicate elements, moving parts, and areas that look original versus areas that might be dirt, temporary obstruction, or old repair work.
Then walk the site itself. Check:
- Doorway, hallway, and ceiling clearance for equipment and crew
- Floor loading capacity, especially for stone or metal pieces on upper floors
- Power access and equipment staging space
- Ambient lighting conditions and weather exposure for outdoor pieces
- Whether the sculpture can rotate or must stay fixed in place
For oversized or permanently installed sculptures, a measured floor plan or quick walkthrough video saves a wasted trip.
Define Outputs, Permissions, and Ownership
Mondo Creations asks every incoming project to specify its purpose up front, along with approximate sizing when no 3D model exists yet. That same discipline applies to scanning.
Agree on file format (OBJ, FBX, STL, STEP), coordinate system, naming conventions, and texture resolution before capture starts, not after a technician has already processed the data in the wrong structure.
Also settle who owns what. Confirm permission to scan the artwork, rights to reproduce or alter the resulting model, insurance coverage, and any lifting or handling requirements. Assign one project lead who approves scan positions, object movement, and the final deliverable.
Choosing the Right Scanning Approach
Match Scanner Type to Size and Geometry
No single scanner handles every sculpture well. Close-range structured-light scanners capture fine detail but cover small areas per pass. Long-range laser scanners cover an entire monument in one setup but trade away close-up resolution. Photogrammetry sits somewhere between the two, depending entirely on camera coverage and overlap.
For genuinely large sculptures, a hybrid approach is often necessary: a long-range system establishes the overall form while a handheld scanner fills in faces, ornamental detail, and cavities afterward.
Published specifications show why this matters. A long-range laser scanner like the FARO Focus Premium 350 reaches up to 350 meters on reflective targets but drops to roughly 50 meters on dark, low-reflectivity surfaces, a real consideration for black-painted or heavily patinated bronze.
Its ranging accuracy sits around ±1mm, excellent for overall form but not for carved detail. Close-range handheld scanners typically work within a meter of the surface and resolve fractions of a millimeter, but only across a much smaller area per pass.

Plan Your Alignment Strategy Before You Start Scanning
Large scans combine hundreds of individual passes. Each alignment introduces a small amount of drift, and that drift compounds across a big object. Decide your alignment method before day one:
- Geometry tracking works on surfaces with plenty of natural shape variation
- Texture tracking adds surface pattern as a reference, useful on flatter areas
- Physical markers or coded targets solve tracking loss on smooth, symmetrical, or repetitive surfaces
- Photogrammetric control points anchor scale and orientation across wide areas
Smooth bronze torsos, repetitive column ornament, and glass or mirrored surfaces are the usual culprits for lost tracking. Plan reference points for these areas in advance rather than troubleshooting mid-session.
Account for Surface, Lighting, and Color Capture
Dark paint absorbs projected light patterns. Polished bronze, chrome, and glossy resin bounce them back as confusing reflections. Translucent or glass elements let light pass through instead of registering a surface at all. Each situation needs a plan before scanning starts: diffused lighting, polarizing filters, or a quick test scan on a small area.
Temporary scanning spray or matte coating can help on tricky surfaces, but never apply anything to an artwork without the owner's or conservator's approval first.
Decide whether you need color and texture, not just geometry. Restoration references, digital exhibits, and marketing assets usually call for photographic color data. Pure geometry scans suffice for engineering or mold work. Texture data is not a substitute for accurate geometry: get the shape right first.
Managing the Capture and Post-Processing Workflow
Prep the Sculpture and the Site
Clean the surface without altering it, remove temporary obstructions, and secure any loose parts before the scanner turns on. Document the sculpture's original position with photos. If the piece has to move mid-session, measure and record that movement. Don't just eyeball it and hope alignment software sorts it out later.
Capture in Zones, Combine Broad and Detailed Passes
Break the sculpture into logical zones (base, front, rear, sides, top, underside, cavities) and plan enough overlap between adjacent passes for clean alignment. Capture hard-to-reach surfaces before any dismantling or rotation, and keep a running list of anything that couldn't be scanned.
A large-area pass establishes the overall silhouette. Close-range passes then add facial features, ornamental detail, seams, and damaged sections on top of that base geometry.
Artec 3D's gas engine case study shows this combined approach at industrial scale. Scanning a 26-meter engine took 18 long-range scanner positions plus 67 handheld scans across four working days. The team registered the long-range data first, then fused the detailed handheld scans on top. The project was industrial rather than sculptural, yet the coarse-to-fine sequence translates directly: establish the big shape first, add detail second.

Process, Clean, and Validate the Data
Processing involves frame alignment, marker verification, background removal, hole handling, mesh generation, and texture projection. Be careful here: automatic hole-filling and aggressive smoothing can erase genuine sculptural detail, including tool marks, intentional undercuts, and cracks that matter for restoration records.
Before delivery, check:
- Scale and orientation against reference measurements
- Completeness, including alignment seams and missing areas
- Mesh normals and non-manifold geometry
- Texture placement accuracy
Request a low-resolution preview or review render before final export. Keep the raw scans, the processed master file, and delivery files stored separately and redundantly.
Sculpture-Specific Challenges to Address
Organic curves, deep undercuts, and tight contact points create shadows no single scanning angle can solve. Repetitive ornament and thin projections cause the same problem.
These workarounds usually fix it, but only if planned in advance rather than discovered during processing:
- Alternate viewpoints
- Smaller scanners
- Mirrors
- A second capture session after temporary disassembly
Preservation-sensitive sculptures add another layer. Historical, public, or fragile works require avoiding contact, heat, vibration, adhesives, or repositioning unless the owner or conservator signs off. The American Institute for Conservation's code of ethics calls for owner consent and justification before any test that could change cultural property, a standard worth following even on privately owned pieces.
Outdoor and public installations bring their own risk factors:
- Changing sunlight throughout the day
- Wind affecting equipment stability
- Pedestrian and vehicle traffic
- Restricted work windows around public access
- Security for expensive scanning equipment
A quick risk register helps before any large scan project:
| Risk | Likely Cause |
|---|---|
| Lost tracking mid-scan | Smooth, symmetrical, or featureless surface |
| Incomplete underside coverage | No access plan before installation |
| Shifted object position | Unmeasured movement during capture |
| Washed-out detail | Insufficient or inconsistent lighting |
| Data loss | No redundant storage plan |
| Unusable deliverable | Unclear reproduction rights agreed too late |
From Scan Data to a Finished Sculpture or Installation
What Scan Data Can Become
A clean scan supports far more than a digital archive. The same base dataset can support multiple outputs when you process it for each use:
- Resizing and digital restoration
- Replacement-part design and mold creation
- CNC milling, foam fabrication, and 3D printing
- Casting patterns and virtual exhibits
- Promotional content
From Visual Mesh to Fabrication-Ready Model
A visually accurate mesh and a fabrication-ready model are not the same thing. Fabrication work usually requires:
- Watertight geometry and adjusted wall thickness
- Segmentation for oversized pieces
- Registration keys for assembly
- Structural supports
- Material-specific engineering decisions
Getting a mesh to look right on screen is the easy part. Readying it for a 5-axis router or a mold is where the real work happens.
Keep a full-resolution master file untouched throughout this process. Build lighter derivatives for client review, web display, or concept development instead of repeatedly modifying your source data.

Bringing in a Fabrication Partner
Scanning is frequently just one stage of a bigger production. When the project moves from "we have a digital model" to "we need a finished, installation-ready sculpture," a studio like Mondo Creations can take the handoff. The studio handles large-scale 5-axis CNC machining, foam fabrication, mold-making, casting, and finishing. Its work ranges from classical figure reproductions to themed entertainment installations.
What to Prepare Before You Reach Out
Before requesting a project discussion or quote, gather:
- Overall dimensions and weight, if known
- Reference images or existing CAD/3D files
- Desired finish and material
- Timeline and venue information
- Installation constraints at the final site
- Intended use of the finished piece
The more detail provided upfront, the more accurate the quote and timeline will be.
Frequently Asked Questions
What 3D scanner is best for scanning large objects?
It depends on object size, surface type, required accuracy, and final deliverable. Compare wide-field handheld, long-range laser, and photogrammetry systems, or a hybrid of these, rather than assuming one scanner works for everything.
Can LiDAR detect small objects?
LiDAR can pick up small features depending on range, point density, and surface conditions, but it's not always the best fit for fine sculptural detail. Close-range structured-light or laser scanning usually captures finer detail more reliably.
How do you prepare a large sculpture for 3D scanning?
Document condition and dimensions, survey site access and lighting, test tricky surfaces, confirm permissions, and plan safe movement in advance. Define your required outputs before the first scan pass, not after processing starts.
Do large sculptures need markers for 3D scanning?
Not always. Markers help most on smooth, symmetrical, repetitive, or featureless surfaces where the scanner struggles to track position, and they improve accuracy control across a large object.
What file format should I request after scanning a sculpture?
It depends on use: OBJ or FBX for textured digital assets, STL for most fabrication workflows, and CAD-oriented formats for reverse-engineering. Request both a high-resolution master and a practical working file either way.